
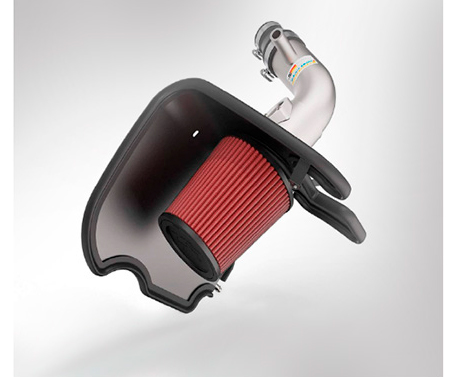
 The main task of the air intake is to create additional airflow for engine cooling. It is usually installed on or under the hood. As a result, it creates a unique and stylish appearance of the car. With an air intake, you can quickly refresh the exterior and add flair to your car. At the same time, you get an important function of engine cooling. Each air intake is thought out in detail. The design is based on the features of specific makes and models of cars. Therefore, today we will discuss how to install the Best Cold Air Intake for Chevy Cruze. So, let’s jump in!
Where Air Intakes Are Installed
The place of installation depends on the purpose of the device. If it is used exclusively with a decorative function, then it is better to mount it near the fenders, or above the front bumper. And if you need to get a specific benefit from the air intake, then there are several installation options:
-
In front of the windshield after the hood grille. This position improves air circulation and reduces its temperature in the underhood compartment;
-
In order to connect it to the air filter system. Then it is better to mount it on the sides of the hood near the windshield. But the mounting location depends on how the hood itself opens;
-
On the sides. Such models are often equipped with intercoolers, where one air intake with the help of a spigot system pumps air into the injector and the other cools the engine compartment.
The Installation Procedure Is Approximate as Follows:
- Determine the place where the air intake will be mounted;
- Draw lines according to the size of the element for air intake;
- It will be optimal to first remove the hood from the car, remove the insulation from the inside. I do not advise to cut directly on the car;
- According to the markings, cut the necessary cut with a grinder. Be careful, cut very smoothly;
- Treat the edges with an emery cloth to remove burrs. Apply an anti-corrosion compound and a coat of paint. This will prevent rusting;
- Now attach the air intake, aligning it around all the edges;
- Mounting can be done with glue, double-sided tape, bolts, and other fastener options. Choose the more reliable one;
- The method of attachment depends largely on the design of the air intake itself;
- Install the element, put everything back in its place;
- Take a few photos and brag to your friends.
That’s It!
Bottom line, I hope this article was very helpful to you and now it will be easy for you to install an air intake on your car. So, if you have any more questions you can feel free to share with us in the comments. Have a great trip!