Drilling a hole in a muffler may seem like a daunting task, but with the right tools and knowledge it can be done with relative ease. Whether you are looking to modify the exhaust on your car or simply need to add some ventilation holes to an existing muffler, drilling the holes is the first step. This article will discuss the necessary tools and materials, safety precautions, and tips for drilling holes in a muffler.
Drilling Holes in Muffler – Why to Do It?
First and foremost, drilling holes in your muffler will allow exhaust gases to flow more freely through the muffler. This increased flow will help to improve engine performance and efficiency. Additionally, it will also make your car louder. This can be beneficial if you’re looking to improve fuel economy or performance. Ultimately, whether or not you should drill holes in your muffler is up to you. If you’re looking for improved performance, better looks, or reduced weight, then drilling holes in your muffler is definitely something to consider. Also read about exhaust cutout.
Necessary Tools and Materials
The most important tool for drilling into a muffler is an electric drill with metal tip drill bits that are appropriate for your type of muffler (either steel or aluminum). Additionally, have close at hand protective eye wear, rubber gloves and other safety equipment as well as a dust mask if necessary. Depending on what you plan on doing after cutting your hole(s), additional materials such as screws or rivets may also be needed.
Safety Precautions
Whenever drilling into any type of metal it is important to take certain safety precautions: First of all always wear protective eyewear when drilling into metal; second make sure that the area to be drilled is clear from any flammable substances; and finally, ensure that there is adequate ventilation for any fumes or dust created when drilling. It is also important to note that the drill should be set to a slow speed in order to prevent any splintering of the metal when drilling.
Drilling the Holes
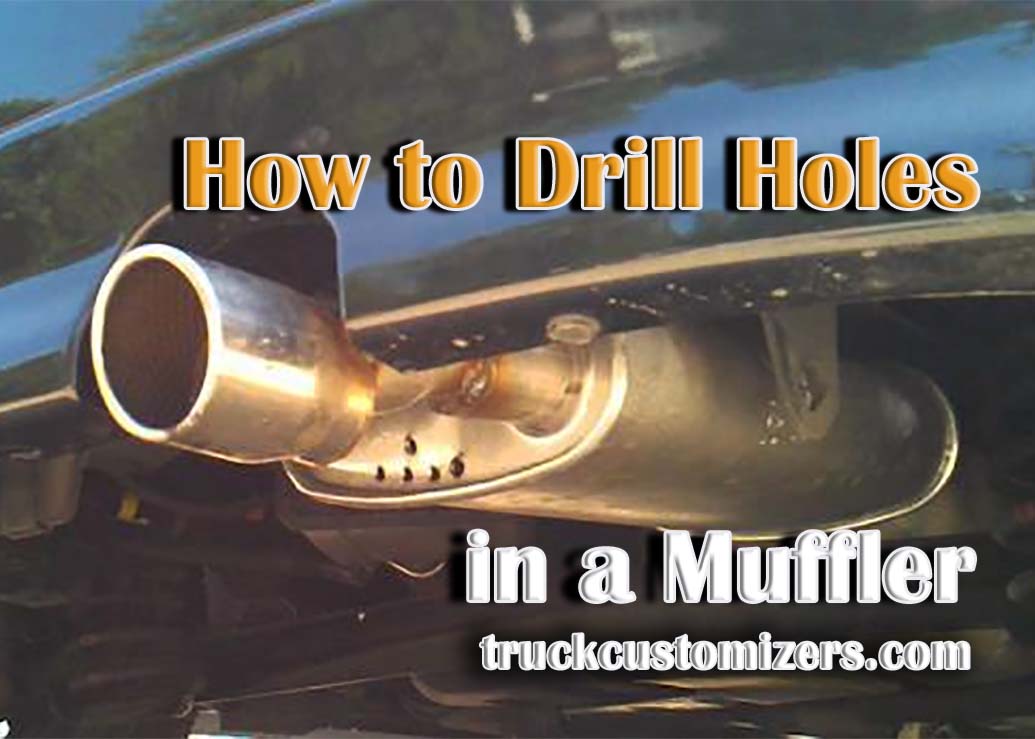
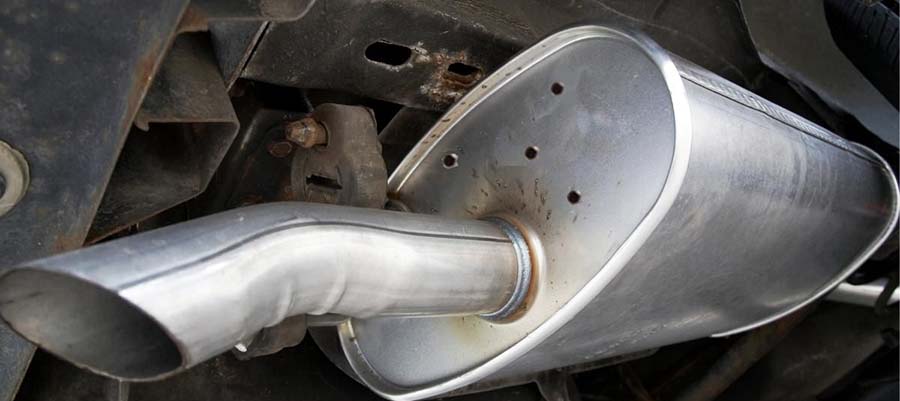
Once all safety precautions have been taken, you are ready to begin drilling your holes. Using a center punch and hammer make the desired hole locations by creating a small dimple at each point. This dimple will act as a guide for your drill bit and help keep it from wandering while you are drilling. Carefully position your drill bit over each dimple and begin drilling slowly, exerting minimal pressure as you go along; this will prevent any splintering of the metal around the hole. After each hole is drilled, use an appropriately sized countersink bit on it to give it a smooth finish around its circumference.
Finishing Touches
The last step before installation is cleaning all of your holes with compressed air or a vacuum cleaner to remove any curled up bits of metal or debris left behind from drilling; this will ensure that everything fits snugly into place once installed onto the muffler. If you are using screws or rivets to secure the muffler, make sure they are of the proper size and length to fit securely into place. See here Mufflers for Ford F150.
Conclusion
Drilling holes in a muffler is a relatively straightforward process when done properly with the right tools and safety precautions. Making sure that you have all of the necessary materials and equipment beforehand will help ensure a successful job, as well as making sure that you take all necessary safety measures before drilling. Once your holes are drilled, cleaned and secured, you’ll be ready to install your modified or ventilated muffler onto your vehicle.