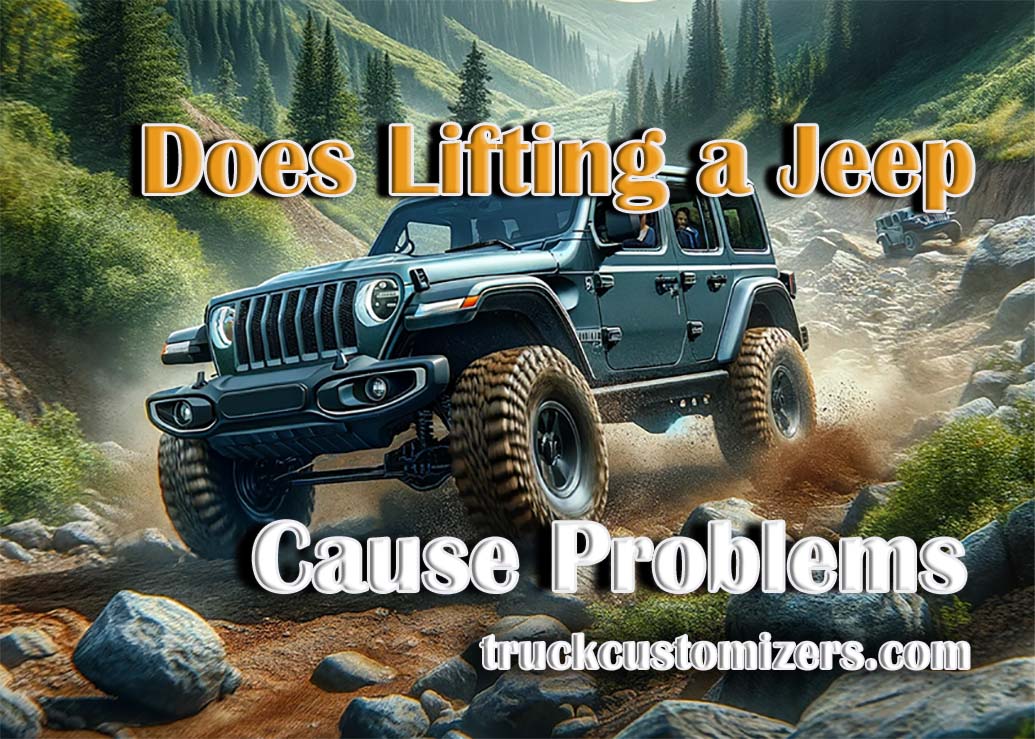
Of course, for any car, the best solution and improvement will be an outboard elevator. It gives the following advantages:
- increases the cross-country capability of the crossover;
- lifts the whole car;
- allows you to install larger wheels without the need to trim the arches;
- provides the car more attractive appearance;
- makes the car ideal for fishing, hunting, and driving on the most difficult sections of roads and off-road.
And so today we will talk about how to install an elevator kit and about all its benefits. Let’s go!
Installation Time – 3 hours
Tools Required:
- front springs and necessarily new rear springs;
- spacers, made of rubber, under the taken springs with a cup made of metal;
- spacers for the Silverado ball bearing (upper);
- shock absorbers;
- brackets for rear shock absorber springs;
- cup washers;
- tool kit;
- jack;
- sturdy boards;
- ties to work with the springs.
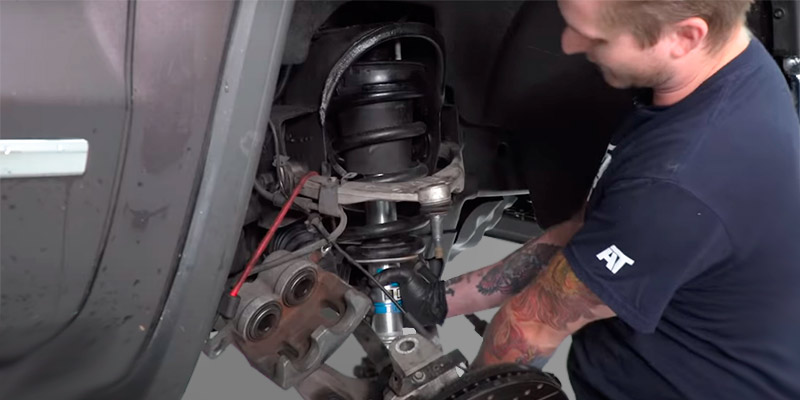
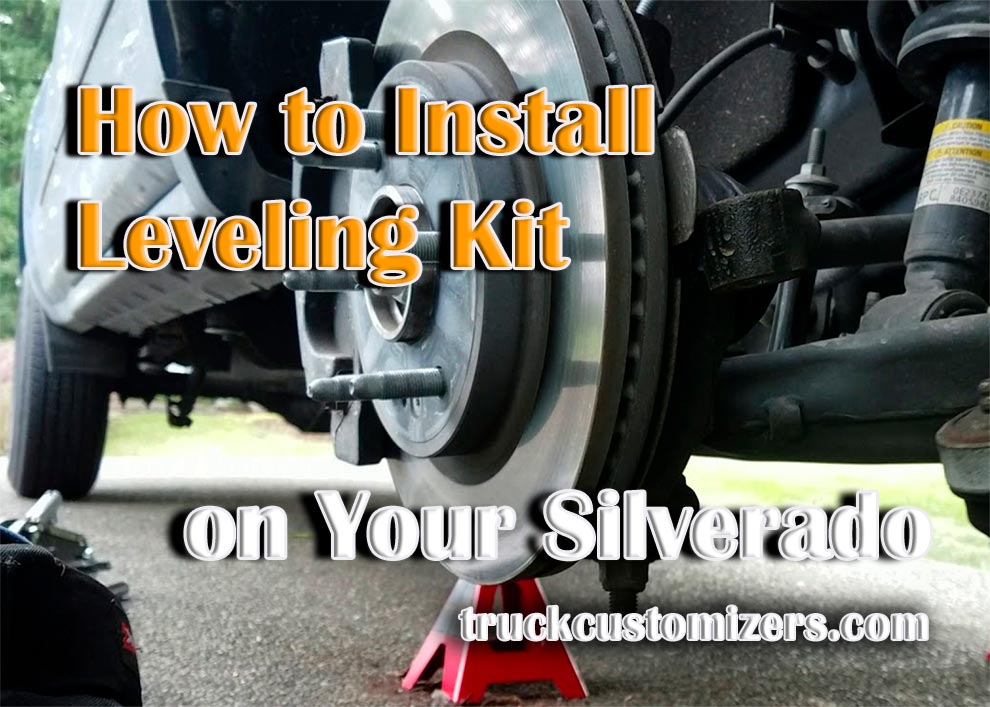
Front Suspension
Let’s start with the front part of the Silverado. Then separately tell how the work is done on the rear suspension of the crossover.
-
Everything begins with the removal of the wheels and release silent blocks. The activities are elementary, so we will not pay special attention to them;
-
Securely fasten your Silverado. To do this, a jack is placed under the ball bearing. The car is lifted until the spring is fully compressed;
-
Next, ties are installed on the mounts and remove the fasteners, which you will see on the Silverado shock absorbers;
-
Now we remove, that is, unscrew the ball joints and remove the stabilizer. Be careful here as there is a risk of damaging the brake hoses, which are very close. By the wheel, you will see bolts. Take them off and set them aside. They will no longer be useful as the longer counterparts will be used instead;
-
A washer spacer should be installed between the cup and lever;
-
Now the spacers are installed with the spring and your cups. Don’t forget to center them. The lever is carefully jacked up;
-
Got to the lower and upper car ball joints. The stabilizer is installed on them and then gently put the shock absorber back in place;
-
Put the hub back in place and put the wheel back on.
That’s it, the job is done.
Rear Suspension
Here you have to buy or borrow a welding machine from a friend because you can’t do without welding and Remember When Shopping for Silverado Leveling Kits. Take a semi-automatic.
-
Under the Silverado springs carefully, so as not to be damaged, cups are doped;
-
Rear shock-absorbers, coming in a set, are installed on the car. Additionally, I advise to tack weld the bracket with welding;
-
When you install the element, you will have the rear axle slightly shifted forward. To avoid this change, you should definitely lengthen all the tie rods;
-
The lower cup is cut and shifted by about 20-30 mm. When shifting, pay your attention to the cross members, which are easy to damage;
-
The cups are welded firmly into their new locations with a welder;
-
The rocker arm of your brake system is lengthened. As a result, the extension should add 30 mm;
-
Fingers are welded under the shock absorbers by semi-automatic welding. Only not yours, but the cars.
Bottom Line
Thus, all responsibility for the elevator lies entirely on you, even if you ordered the service at a car service center. Remember that the consequences can be the most unpredictable. Though practice shows how much car owners are satisfied with the elevator and that such reconstruction brings benefits and pleasure of driving. The main thing is to do everything correctly and use only quality components.