The radiator is a crucial component of your vehicle’s engine system. It is an important component in the cooling system and prevents the engine from overheating. The upper radiator hose, which runs between the radiator and the engine, plays a significant role in this process, and must remain in good working order. Unfortunately, there are times when the hose can become damaged or collapse due to various causes. Understanding why this can occur and knowing how to prevent it are key to ensuring that your vehicle continues to run smoothly without any problems from its upper radiator hose. This article will discuss potential causes of upper radiator hose collapse and ways to address and prevent this issue from arising in the first place.
Signs of Upper Radiator Hose Collapse
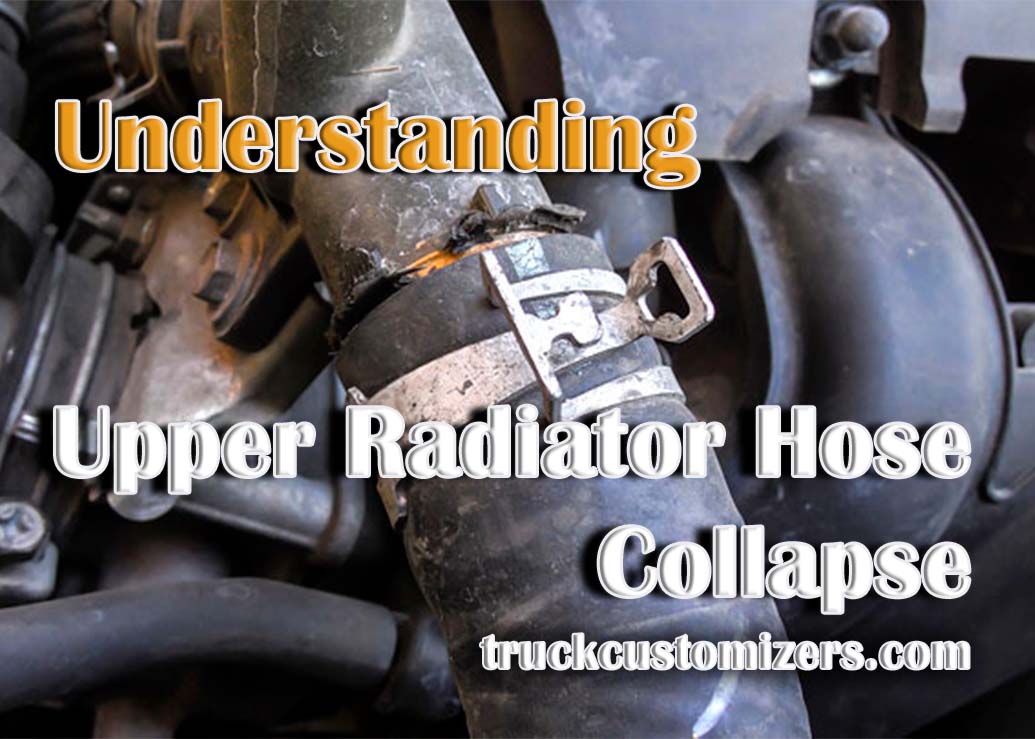
Detecting the early warning signs of a radiator hose collapse is crucial for every vehicle owner to prevent potentially catastrophic engine damage. One of the most evident indications is a noticeable decrease in vehicle performance, particularly in engine temperature regulation. As the upper radiator hose weakens or succumbs to external forces, it may develop visible cracks, bulges, or even collapse entirely, obstructing the smooth flow of coolant and disrupting the engine’s cooling process. This disruption can quickly lead to engine overheating, resulting in steam emanating from under the hood or a warning light illuminating the dashboard. Additionally, watch for coolant leaks around the hose area, which may signal a deteriorating condition. By being vigilant to these signs, vehicle owners can promptly diagnose and address a potential radiator hose collapse, ensuring the longevity and reliability of their beloved automobiles.
Causes of a Radiator Hose Collapse
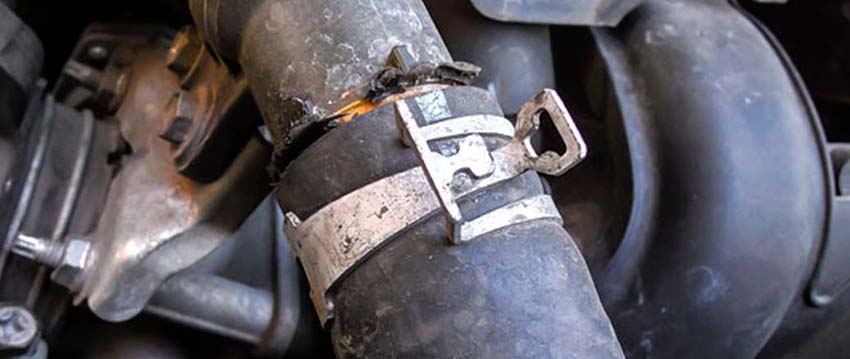
The most common cause is a broken or loose clamp improperly secured to the hose. If the clamp becomes loose over time, it can cause the hose to become weakened, leading to a rupture and resulting in a collapse. Another possible cause of a radiator hose collapse is improper installation. If the hoses were not fitted correctly, it could lead to them becoming too tight and causing excessive strain on them, which could lead to their eventual failure and collapse. In some cases, age can also be a factor in radiator hose collapses. Over time, hoses can become brittle due to exposure to heat and chemicals from coolant fluid; this can cause them to weaken and eventually fail. A final potential reason for a radiator hose collapse may be due to debris that has accumulated inside the system; clogs or blockage of any kind will put extra pressure on certain areas of the system and may ultimately result in its failure or collapse.
How to Repair an Upper Radiator Hose Collapse
If you’re experiencing an upper radiator hose collapse, it could be due to a few reasons, such as a blockage, a weakened hose, or improper installation. To repair the collapsed upper radiator hose, you can follow these steps:
Step 1: Safety Precautions
Ensure the engine is off and has cooled down. Open the hood and locate the upper radiator hose, which connects the radiator to the engine’s thermostat housing. Inspect the hose for any visible signs of damage, such as bulges, leaks, or cracks. If the hose is damaged or weakened, replacing it with a new one is best.
Step 2: Drain the Coolant (Optional)
If the radiator hose is severely collapsed or needs to be replaced, it may be helpful to drain the coolant to prevent spills and coolant waste. To do this, place a large catch basin under the radiator drain plug, remove the plug, and let the coolant drain into the basin. If your radiator has no drain plug, remove the lower radiator hose to drain the coolant.
Step 3: Remove the Hose
Using pliers or a screwdriver, loosen and remove the hose clamps on both ends of the upper radiator hose. Once the clamps are loose, carefully detach the hose from the radiator and the engine’s thermostat housing. Be cautious not to damage other components or hoses during this process.
Step 4: Inspect the Hose
Examine the removed upper radiator hose closely for any signs of collapse, kinks, or damage. If the hose has collapsed, it is likely due to internal weakening or blockage. In this case, it’s best to replace the hose rather than attempting to repair it.
Step 5: Install the New Hose
If you replace the upper radiator hose, position the new hose correctly. Ensure it matches the old hose’s length and shape. Slide the hose over the fittings on the radiator and the engine’s thermostat housing. Then, secure the hose by tightening the clamps on each end.
Step 6: Refill with Coolant
If you drained the coolant earlier, now is the time to refill the radiator with the appropriate coolant mixture. Use a funnel to pour the coolant into the radiator slowly. Ensure the radiator is filled to the recommended level and not spill any coolant.
Step 7: Bleed the Cooling System (if needed)
If you remove a significant amount of coolant, air pockets might be trapped in the cooling system. To remove air bubbles and ensure proper coolant circulation, follow your vehicle’s manufacturer’s instructions on how to bleed the cooling system.
Step 8: Check for Leaks
After you’ve refilled the coolant, start the engine, and let it run for a few minutes while watching for any coolant leaks. If you spot any leaks, turn off the engine immediately and recheck the hose connections and clamps for tightness. Also read about Best Cummins Radiator here.
Conclusion
The upper radiator hose is a crucial component of the vehicle’s cooling system, and it must remain in good working order to ensure engine performance. Unfortunately, there are times when it can become damaged or collapse due to various factors, such as debris blockage, improper installation, or age. Understanding the signs of an upper radiator hose collapse and how to repair or replace the hose is key for any vehicle owner looking to keep their beloved automobile running smoothly. By following these steps, vehicle owners can quickly diagnose and address a potential radiator hose collapse and maintain their vehicle’s reliability for years.