
If you own a turbocharged vehicle, it’s important to keep your turbo in good working condition by regularly cleaning and inspecting it. This guide will provide you with the information and steps needed to properly clean your turbo.
What is a Turbo?
A turbo is an intake and exhaust system component found in many modern vehicles. It consists of a turbine housing, where an impeller blade spins when air passes through it, creating power. The power created by the turbo is used to help the engine produce more power by increasing air flow into the engine’s combustion chamber.
Why Should I Clean My Turbo?
Cleaning your turbo regularly can help increase its performance and efficiency. Over time, dirt, debris, and other substances can build up on the blades of the turbine housing and reduce its effectiveness or even cause damage. Regular cleaning will ensure that your vehicle has optimal performance throughout its life.
Step 1: Preparation & Diagnosis
Before beginning any work on your vehicle’s turbo system, it’s important to prepare for the job by doing some basic checks to make sure everything is in order before proceeding with cleaning or repairs.
-
Preparing Your Vehicle for the Job: Before beginning work on your turbo, make sure that the engine is cool and that you have drained any remaining oil or antifreeze from the system.
-
Checking Your Vehicle’s Condition before Cleaning: Inspect the turbocharger system and make sure all connections are secure, and that there are no leaks or any other visible signs of damage.
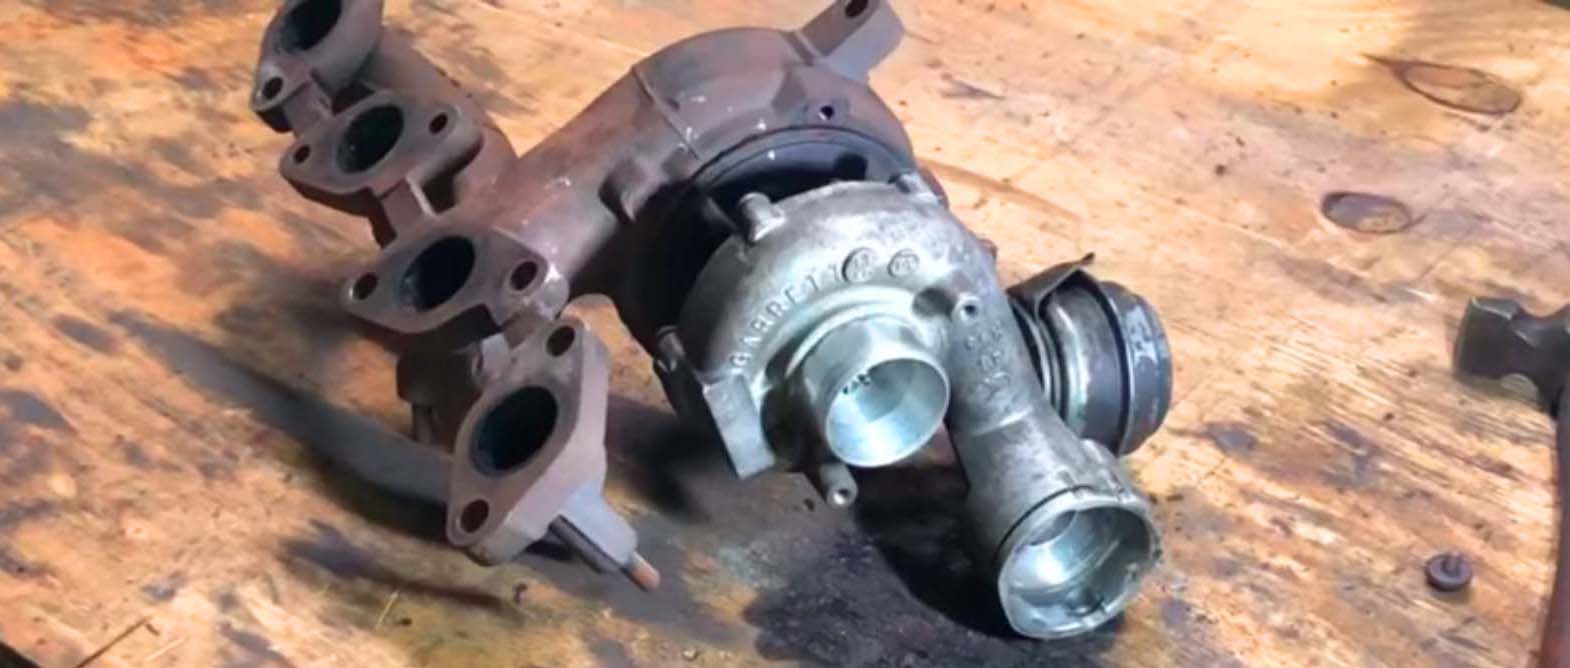
Step 2: Removing the Turbine Housing & Blades
Once you’ve prepared and inspected your vehicle for cleaning, it’s time to begin removing the turbine housing and blades.
-
Removing the Turbine Housing: To remove the turbine housing, first disconnect any electrical connections to it and loosen any bolts holding it in place. Once all of these steps have been completed, carefully pull out the turbine housing from its mounting position.
-
Removing and Inspecting the Blades: Once you’ve removed the turbine housing, you can then remove each individual blade for inspection. Carefully inspect each blade for signs of wear or damage such as chips, cracks or bent edges. Replace any blades that show signs of damage to ensure optimal performance when reassembling your turbocharger system later on.
Step 3: Disassembling and Cleaning
Once you’ve removed the turbine housing and inspected the blades, it’s time to begin disassembling the turbocharger system for cleaning.
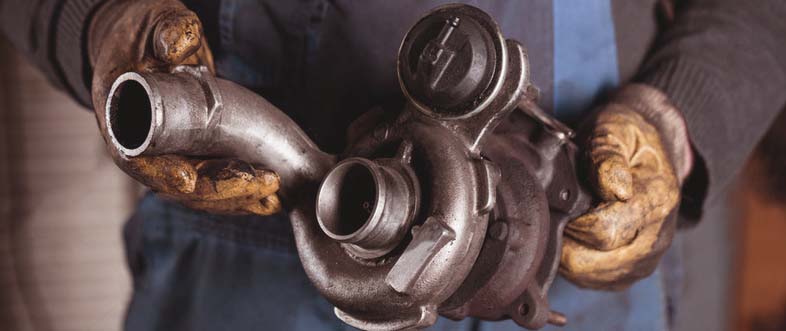
-
Separating Parts for Cleaning: Begin by separating all of the components of the turbocharger system. This includes any of the relevant hoses, clamps, or other parts that need to be cleaned.
-
Cleaning with Solvents: Once all of the parts have been separated, use a commercial solvent such as brake cleaner to remove any dirt or debris from each part. Make sure not to use too much solvent as this can damage certain components of your turbocharger system. After cleaning each part with a solvent, wipe down each component with a clean rag or cloth before moving on to reassembly.
-
Applying Oil to Reassembled Parts: Once you’ve finished cleaning all of your parts and reassembled them, it’s important to apply some oil before replacing them in your vehicle. This will ensure that all parts are well-lubricated and running at their optimal performance level once they are back in place in your engine.
-
Reattaching the Turbine Housing & Blades: After applying oil to all of your parts, begin reattaching the turbine housing and blades to their respective mounting points. Once everything is in place, tighten all bolts and connections before moving on to testing.
Step 4: Testing and Finishing Touches
Once you’ve finished reassembling your turbocharger system, it’s time to do a few final tests before wrapping up your cleaning job.
-
Test Driving After Reassembly: The first step is to take your vehicle for a test drive after reassembly. This will allow you to check for any strange noises or vibrations that may be caused by loose connections or incorrect assembly. If you do experience any issues during your test drive, go back and check that all components were securely reinstalled before continuing on with your cleaning job. By the way, here you can learn how to resolve growling noises when braking.
-
Final Tips for Maintaining Your Turbo: To ensure optimal performance from your turbocharged vehicle, it’s important to make sure the system is regularly maintained by checking it regularly for signs of wear and tear and replacing any damaged parts immediately. Additionally, you should make sure that the engine oil used in your vehicle is clean and of the correct grade to prevent any buildup of dirt or debris on the blades of the turbine housing.
Conclusion
Cleaning your turbocharger system is a relatively simple but important task that will help you maintain your vehicle’s performance and efficiency. By following these steps and taking care to inspect all components before reassembly, you can ensure that your turbocharged vehicle will run at its peak performance for many years to come.