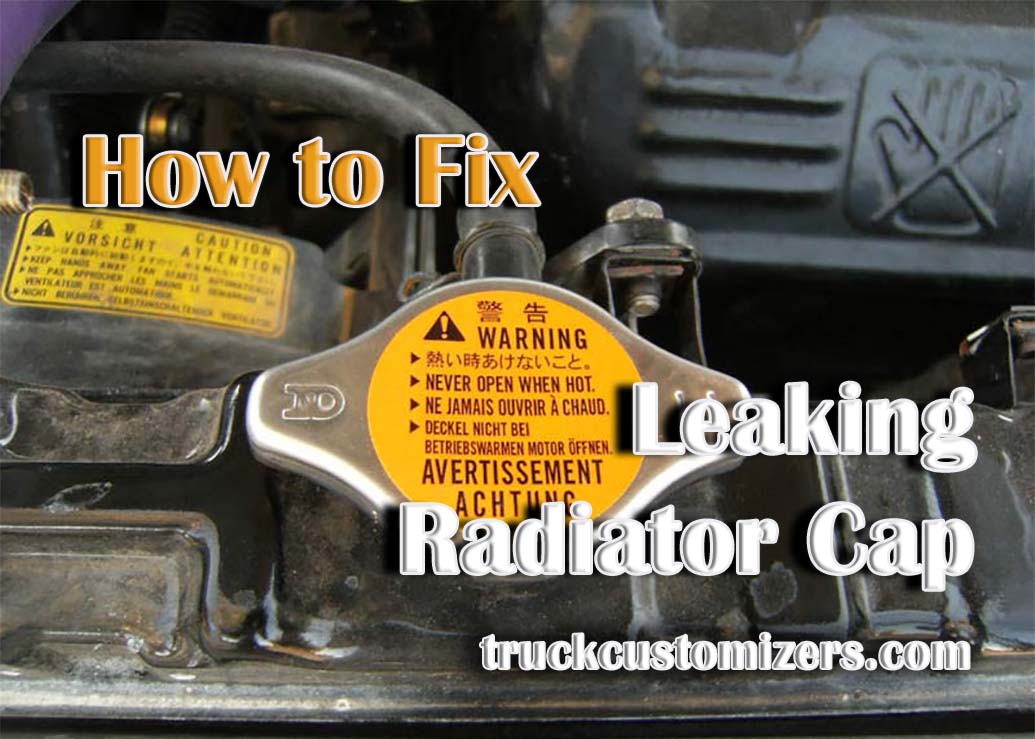
A leaking radiator cap on your vehicle can be a frustrating problem to deal with. Not only is it annoying, but it can lead to bigger issues down the line if not fixed properly. In this guide, we’ll cover how to diagnose and repair a leaking radiator cap on your vehicle. First, let’s look at what causes a radiator cap to leak in the first place.
Diagnosing a Leaking Radiator Cap
When diagnosing a leaking radiator cap, there are several things you should consider. First off, look for signs of leakage around the base of the radiator or around the hoses leading into and out of it. A slow drip from either area could indicate that the seal between your cap and your system has been lost or damaged. You should also test your cooling system pressure by pressing down on the release valve located on top of your radiator. If there is any pressure at all in this area then most likely you have a failing gasket or faulty seal that may need replacing—and possibly even a new radiator cap altogether!
Signs Of A Leaked Radiator Cap
If you’ve noticed any signs of coolant leakage around the base of your radiator or near the hoses leading into and out of it, then you’re likely dealing with a leaking radiator cap. Other signs to look out for include bubbles in the coolant, steam rising from the radiator cap or a sweet smell coming from the coolant.
Test & Inspect The System For Leaks
The most important step when diagnosing a leaking radiator cap is to perform a pressure test on your cooling system. A pressure tester can be easily purchased from any auto parts store, and will give you an accurate reading of how much pressure is in your system. This should be done both before and after replacing any components in order to ensure that all seals are properly sealed and functioning as intended. Additionally, visually inspect all hoses leading into and out of the radiator for any leaks or cracks that could be causing pressure loss within your system.
Repairing The Problem
Once you’ve determined that your radiator cap is indeed leaking, it’s time to take action! In some cases, simply replacing the gasket or seal on the existing cap may solve the issue; however if this does not work then it may be necessary to replace the entire unit with a new one. Most likely, the cap is just not sealing properly anymore and a new one may be needed.
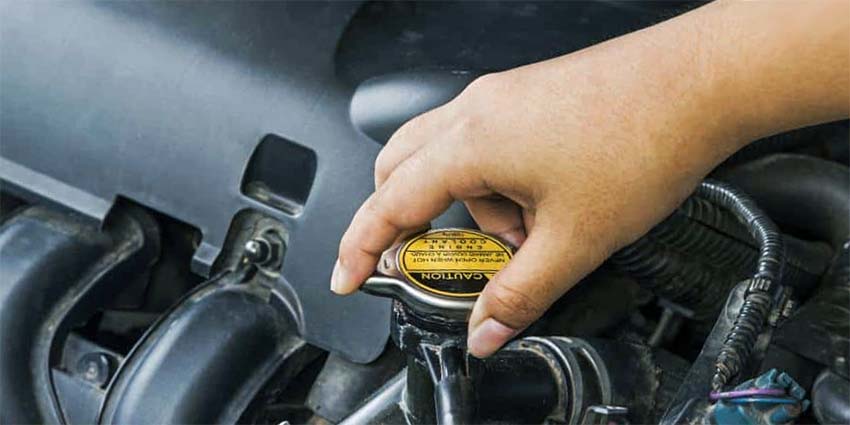
Replacing The Radiator Cap
Replacing your radiator cap is relatively easy and shouldn’t take more than a few minutes. First, remove the old cap by unscrewing it from the radiator neck. Then insert the new one, making sure to line up all of the gasket seals with their respective grooves in the neck of the radiator. Finally, tighten down the cap until it is snug—do not overtighten!
Using An Anti-Leak Fluid Solution
In some cases, using an anti-leak fluid solution may help to reduce or even eliminate your leaking problem without having to replace any parts at all. These solutions typically contain substances that help fill in any cracks or gaps in your system, thus improving its ability to hold pressure and preventing further leakage. It’s important to follow usage instructions carefully when using these solutions as overuse can actually lead to worse problems than you started with!
Preventative Maintenance Tips
To prevent future leaking issues with your radiator cap it’s important that you check on its condition regularly and ensure that it’s properly sealed and functioning as intended. You can also add an anti-leak solution to your system every year or so to help keep it in top condition. Finally, make sure to inspect all hoses that are connected directly to the radiator for any signs of wear and tear. This preventative maintenance approach can also help you avoid problems like air getting into the radiator. Remember, recognizing air in radiator symptoms early can save you from potential engine damage and costly repairs.
Conclusion
Fixing a leaking radiator cap on your vehicle is not always easy, but it is necessary in order to keep your cooling system running smoothly and prevent further damage. By following the tips outlined in this guide, you should be able to diagnose the source of the leak and repair it quickly and easily. With a little bit of regular maintenance, you can ensure that your radiator cap won’t give you any more issues in the future!