Oil pan leaks are a common problem among car owners, which can lead to serious damage if left unaddressed. Not only can they be difficult to detect, but they can also cause problems with your car’s engine and fluids. Fortunately, with the right tools and materials, you can fix an oil pan leak yourself with ease. By following our step-by-step guide below, in no time you’ll have your car up and running again!
Identifying an Oil Pan Leak
Spotting Warning Signs of a Leak
If you notice that your oil is leaking from the bottom of your car or that there is an oily residue on the ground around your vehicle, then this could be a sign of an oil pan leak. You may also notice strange noises coming from your engine or decreased performance in terms of acceleration because of the lack of lubrication caused by the leak.
Checking for Damage and Wear
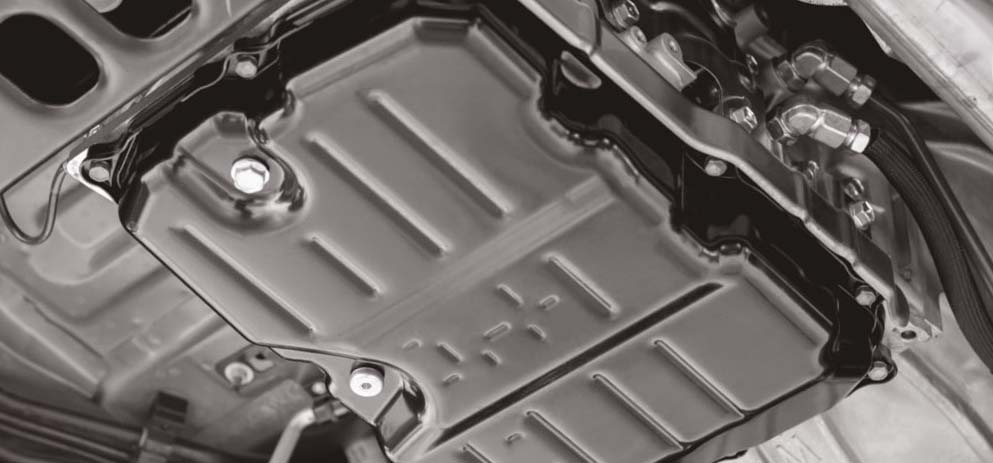
Inspecting underneath your car will help you determine whether or not there is a leak in the oil pan itself or elsewhere in the system such as around hoses or seals that are connected to it. Check for signs of rusting and wear on the pan itself and other components in the area too. If there is any visible damage, you may need to take further action.
Fixing An Oil Pan Leak
Tools & Materials Needed
In order to repair an oil pan leak, you will need the following tools and materials:
- Socket wrench set
- Oil catch pan
- Oil filter gasket replacement set
- Replacement oil pan gasket
- Thread sealant
- Rags or paper towels for cleaning up any spills
Step-by-Step Guide
-
Park your car on a flat surface and turn off the engine. Raise the car with a jack and secure it with jack stands before you begin working on it.
-
Place an oil catch pan underneath the oil pan to catch any excess oil that may spill out during the repair process.
-
Remove the old oil filter and gasket using a socket wrench set, then replace them with new ones from your replacement kit if necessary.
-
Examine the condition of your oil drain plug and replace it if needed before moving on to step 5. 5. Unscrew and remove the old oil pan gasket from around the perimeter of your vehicle’s engine block with a socket wrench set, being sure not to damage any other components in the process as this can cause more leaks in future.
-
Clean any residue from the oil pan and engine block with a rag or paper towel before applying the thread sealant to the new gasket.
-
Place the new oil pan gasket into its designated spot around the perimeter of your vehicle’s engine block and use a socket wrench set to secure it in place.
-
Refill your car’s oil tank with fresh motor oil before starting it up again and checking for any leaks or drips from underneath after driving for a few minutes.
Conclusion
Oil pan leaks can be difficult to detect, but fortunately they are relatively easy to fix with some basic tools and materials when you know how! By following our step-by-step guide above, in no time you’ll have your car up and running again smoothly – no more worrying about pesky oil pan leaks!