
With the F-150 being one of the most popular pickup trucks on the planet, there’s never a shortage of OEM parts for it. However, you need to be very careful when ordering stuff online. This truck’s been around for many decades and went through numerous changes. That means you can’t buy, say, a front bumper from a 2015 model and expect it to be a perfect fit for a 2007 model.
This is especially true for fender flares. They are pretty cheap and easy to install. But, again, you’ll probably have a hard time putting them in place unless you’ve got a compatible set. So, today, we’ll talk about flares in general. Next, we’ll see if there are any universal-fit flares, and, of course, learn how to install them on our own!
What are the Pros of using Fender Flares?
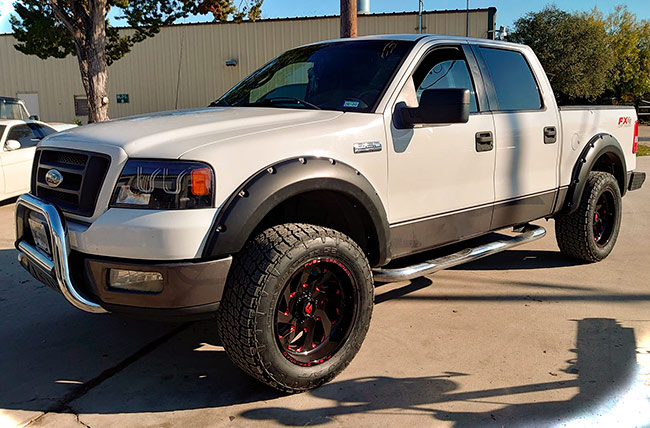
 So, why should you even care about installing a new set of fender flares? Are they really worth it? Well, here are the facts: first of all, they look pretty cool, especially if you get flares that slightly extend beyond the wheel wells. That makes the truck look bigger and meaner. Secondly, they keep all the dirt, mud, dust, and whatnot from damaging the wells. If you do a lot of off-roading, you know very well how hard it is to clean all that slush.
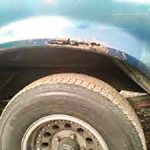
And, in the blink of an eye, you can end up with rusted and corroded wells. That won’t be a problem if you invest in decent-quality flares! On top of that, fender flares help the F-150 to accommodate big tires. With the stock setup, those larger-than-life wheels will be constantly rubbing on the frame, which can lead to tire wear or even blow out. Last, but not least, in some American states, it’s illegal to drive with exposed tires.
Yes, I’m talking about tires that extend outside the wells. Again, flares will help you solve that problem easily by covering the wheels and helping you avoid trouble with the law. As you can see, fender flares are pretty important and, most definitely, worth your attention.
Are All F-150 Flares A Universal Fit?
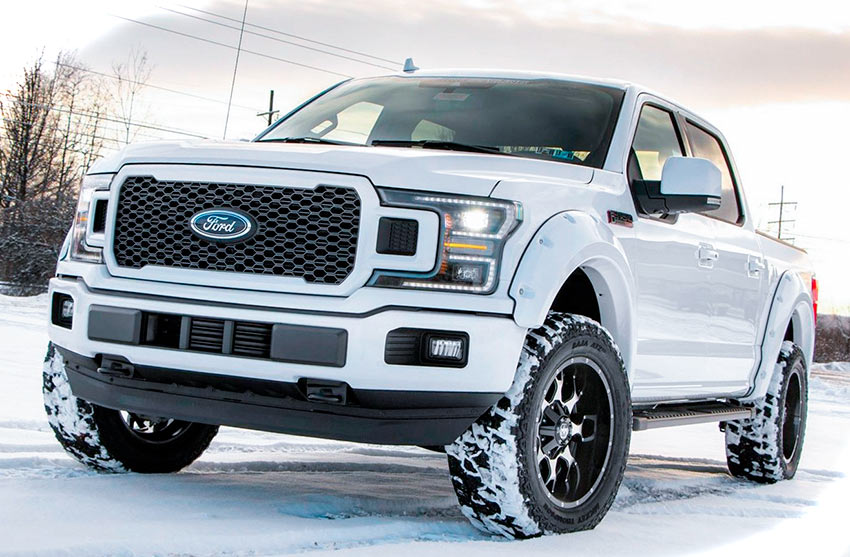
As we already learned in the beginning, there’s no such thing as a universally compatible fender flare, even if it was designed and built for the F-150. And here’s why: the front of the 2018 model was redesigned, and it’s a couple of inches shorter than the front of the earlier models. So, if you bought a set of factory flares for the 2015 F-150, you’ll have to do some trimming to make everything work.
And if it’s the other way around, then the flares won’t be able to quite reach the bumper. That won’t be noticeable to the naked eye, however. I just want you to know in advance what you’ll be dealing with so that there are no unpleasant surprises after the purchase. And now, with that out of the way, let’s see how we can install fender flares that aren’t a direct fit.
Fender Flare Installation Guide
Alright, so, when it comes to flares, there are two ways you can install them. Some drivers prefer to use adhesive tape and, well, stick the flares. Others go with the more reliable and long-lasting method – bolts and nuts. Which one will be a better solution for your situation? Check out my guides, and you’ll figure it out! But, before you get to that, make sure to clean the contact areas thoroughly.
This is especially true for using adhesive tape. All the dirt, dust, grime, and everything in between will make it harder to secure the flares tightly. Don’t worry: you won’t need any fancy cleaners for this. A simple combination of water and soap should do just fine. Pay extra attention to the wheel arch lips, because grime really likes to stick up there. Do you have a scrub brush lying around? Put it to good use!
Bolt-on Installation
 If your F-150 has factory fender flares, you’ll need to remove them. Grab your favorite socket wrench or screwdriver and get to work. Don’t throw the installation hardware away, though – you might need it later. Next, position the new flare against the fender. Now, if it’s a perfect match with your truck, the flare’s bolt holes should match the factory mounting spots. So, it will be just a matter of positioning it right and securing the flare with the stock bolts.
However, as we’ve already learned, it’s not always that easy when the flare is longer or shorter. The main idea will be the same, though: you’ll need to secure the flare to the fender. Now, in my experience, it’s always better to drill new holes into the flare than the truck’s frame. Sometimes, that’s not an option, but if you can make it work, I’d say go for it!
Drills are available for cheap, and it will take you 10-15 minutes to make a couple of holes for the bolts/screws. Make sure you’re following the frame’s contour as closely as possible for the best visual results. If the flares are longer than you need them to be, trim them. A utility knife is the cheapest option; a Dremel, in turn, will do a much better job, but it’s not particularly low-priced.
Using Adhesive Tape Instead
Tape is the less reliable, but more “user-friendly” method. I recommend using the 3M tape: it was specifically designed for metallic parts and isn’t “afraid” of moisture, humidity, or temperature extremes. This is a double-sided tape, meaning it sticks to both the flare and the fender. Like in the previous scenario, be very careful and make sure the flare looks good from all sides and it’s sitting exactly where the factory flare was.
For the adhesive tape to bond with the metal, press it really hard and hold it for 5-10 minutes. Then, leave it alone for 24 hours, and the F-150 will be ready to hit the road!