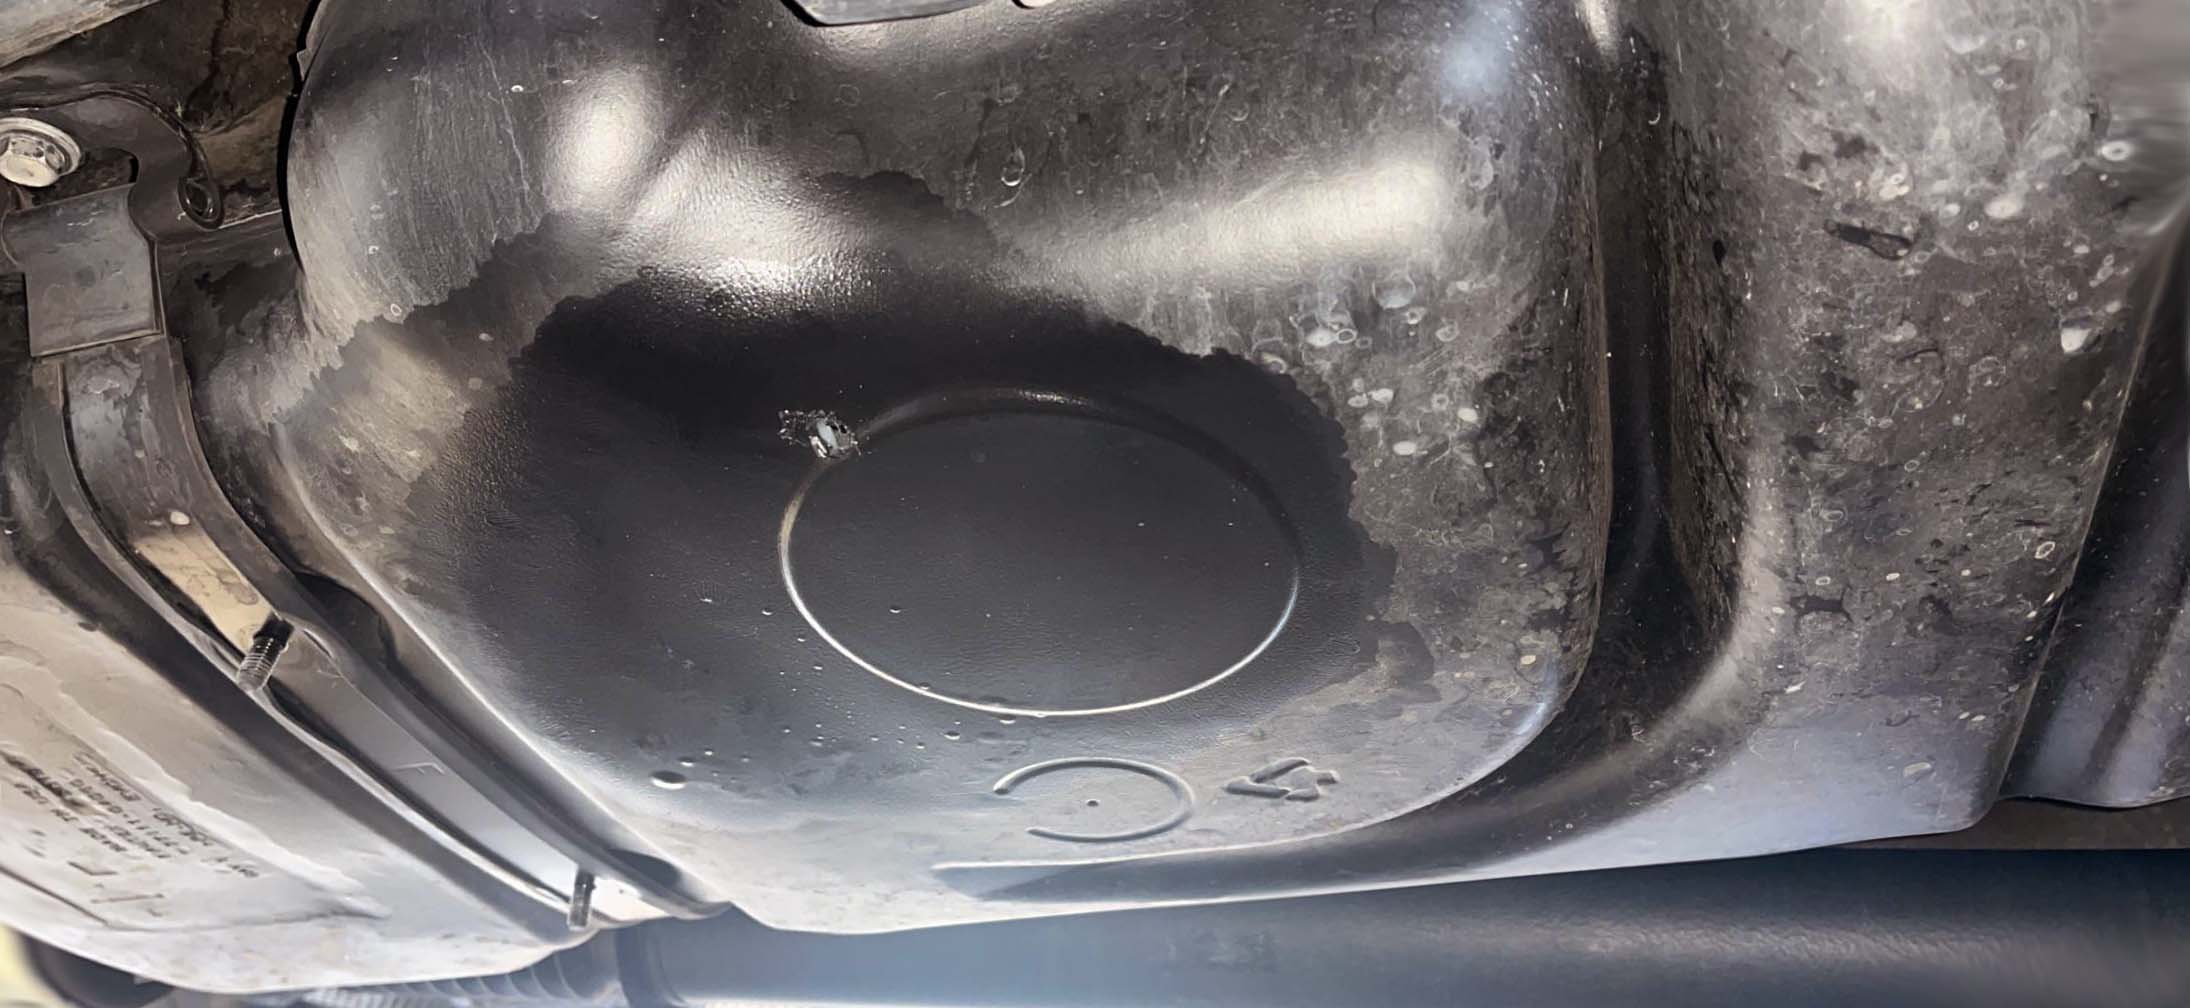
When you find a hole in your gas tank, it’s important to repair it quickly and safely. Fortunately, most holes can be easily fixed with the right tools and materials. To help you fix your gas tank, we’ve created this comprehensive guide on how to repair a hole in your gas tank.
Safety First
Before attempting to fix a hole in your gas tank, make sure the area is well-ventilated so that any fumes are not inhaled. Also make sure that there are no open flames or sparks present. Additionally, it’s important to wear protective gear such as safety glasses, gloves and breathing mask when working with chemicals or materials that could cause injury if they come into contact with skin or eyes.
Materials Needed for Repairs
The materials needed for repairing a hole in a gas tank include:
- Epoxy resin
- Fiberglass cloth
- Plastic scraper
- Sandpaper

Step-By-Step Instructions for Repairs
-
Begin by draining all of the fuel from the gas tank using either an air compressor, pump or siphon.
-
Clean the inside of the tank with an appropriate solvent. This will help to ensure that the epoxy adheres to the surface properly and won’t peel off in the future.
-
Cut a piece of fiberglass cloth that is slightly larger than the hole in your gas tank and apply a layer of epoxy resin to both sides of it.
-
Place the fiberglass cloth over the hole in your gas tank and press it firmly into place using a plastic scraper or similar tool. Allow it to dry completely before moving on to the next step.
-
Once dry, sand down any excess material around the edges of the patch with fine-grit sandpaper until it is flush with existing surface area on your tank wall.
-
Apply another layer of epoxy resin overtop of your patch for extra protection, making sure to smooth out any air bubbles during application with a plastic scraper or other suitable tool. Again, allow this layer to dry completely before proceeding onto next step.
-
Seal off any visible seams around patch using an appropriate sealant or caulk product that is resistant to petrol fumes and other corrosive materials.
Finishing Up the Job
Once you’ve finished applying the sealant around the patch, it’s important to inspect your repair and make sure that there are no additional holes or leaks present. You can also use a pressure tester or vacuum pump to be certain that your repair is airtight and won’t cause any further issues. If all tests are satisfactory, you can now fill the tank up with fuel and use it as normal.
Conclusion
Now that you know how to fix a hole in a gas tank, you can quickly and easily repair any current issues without having to replace your entire tank. Always remember to wear appropriate safety gear when working with chemicals or other potentially hazardous materials and make sure that area is well ventilated at all times. Following these steps will help ensure that your repairs are safe, effective and long-lasting so that you never have to worry about them again!


