The safety of any vehicle is largely dependent on the health and functionality of its brake system. The ability to control speed, halt, and decelerate when required are fundamental aspects that ensure not only the vehicle’s performance but also your safety on the road. One integral component of this system is the brake pad; a seemingly small part that plays an enormous role in maintaining seamless vehicular operations.
The condition of your brake pads significantly influences your driving experience, making it crucial for every driver to understand how to check them regularly. In this article we will delve into comprehensive steps that will guide readers through the inspection process essential for maintaining functional brakes. Grasping these procedures will empower you to detect issues early, avert potential accidents due to brake failure, save on costly repairs or replacements at the mechanic’s shop and essentially extend your vehicle’s lifespan.
Understanding Brake Pad Wear and Its Signs
Brake pad wear is a gradual process that can significantly impact your vehicle’s braking efficiency. Identifying wear indicators is crucial for conducting maintenance at the right time. Common indicators include a squealing or grinding noise when braking, which is often the result of wear indicators coming into contact with the brake disc.
Additionally, a noticeable decrease in braking performance or a longer stopping distance can signal that the pads are thinning. In some vehicles, a dashboard warning light may illuminate when it’s time to check the brakes. Visual signs, such as brake pad thickness decreasing to less than a quarter inch, also warrant immediate attention. Being alert to these signs can prevent more severe issues and ensure your vehicle remains safe to operate. For those looking to enhance their vehicle’s performance and appearance, also read about the Best Leveling Kits for Silverado.
Tools Needed for Checking Brake Pads
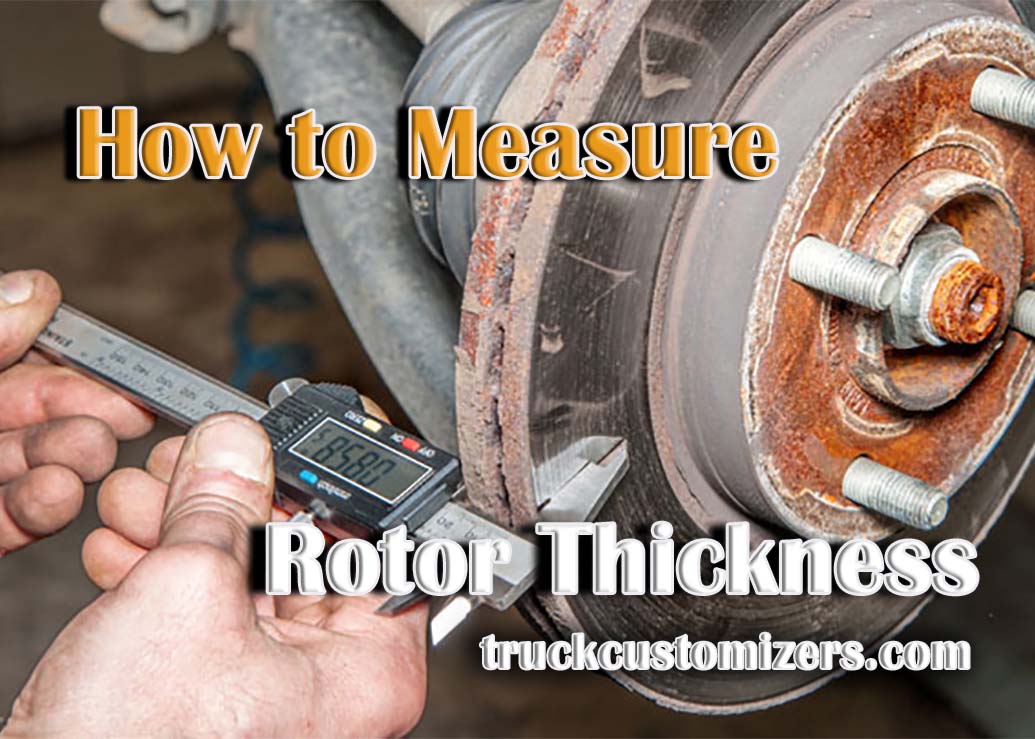
Before inspecting your brake pads, gathering the right tools is crucial for an effective and safe check. Essential tools include a jack and jack stands to safely lift and support your vehicle. A tire iron or wrench will be needed to remove the wheel for a clear view of the brake pads. A flashlight can help illuminate the brake components, making it easier to inspect the pads. For more detailed inspections, a caliper tool or a ruler can be used to measure pad thickness accurately. Having these tools at hand simplifies the process of checking your brake pads, enabling a thorough and efficient inspection.
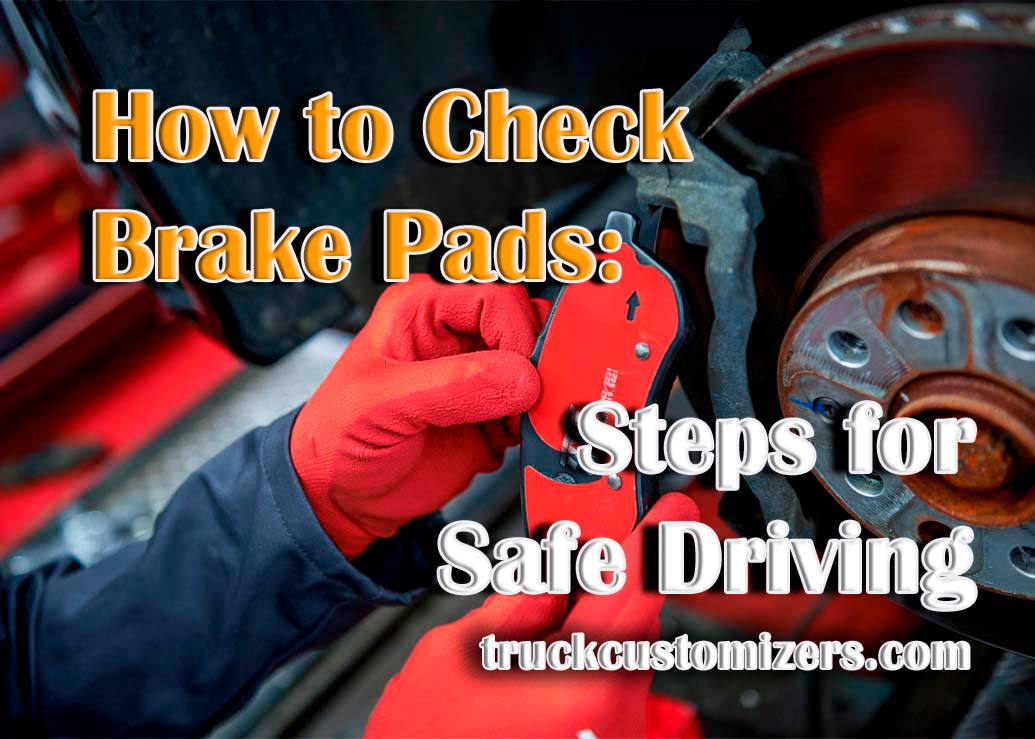
Step-by-Step Guide to Inspecting Your Brake Pads
Conducting a thorough inspection of your brake pads doesn’t require specialized skills but does need attention to detail and the right approach. By following a systematic step-by-step guide, you can easily assess the condition of your brake pads to determine if they are safe to continue using or if they need to be replaced. Below are the essential actions to undertake for a thorough examination of your brake pads:
Safety Measures – Park your vehicle on a level and solid ground. Use wheel chocks to secure the vehicle against any movement.
Lifting the Vehicle – Use the jack to lift the car off the ground. Once it is high enough, place a jack stand underneath for additional support. This step ensures you can safely inspect without risking the car falling over.
Removing the Tire – Use a lug wrench or tire iron to loosen and remove the lug nuts, then proceed to detach the wheel. This will provide an unobstructed view of your brake pads.
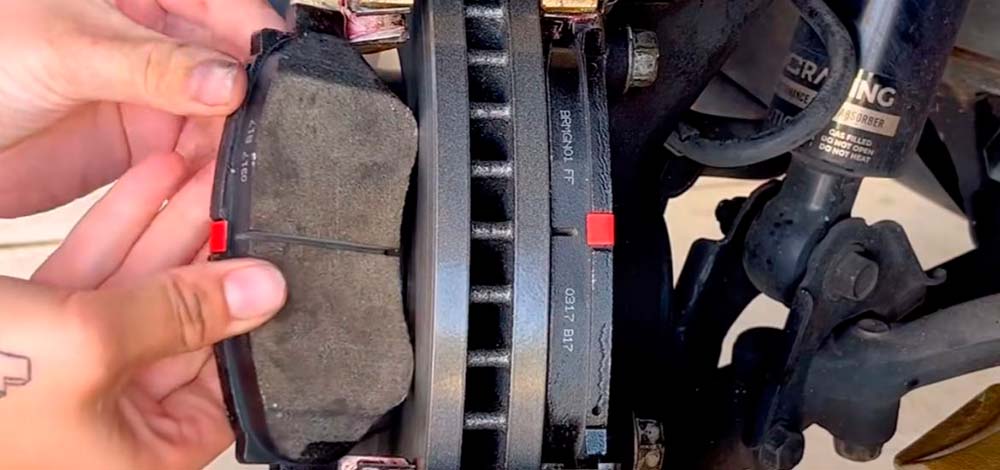
Brake Pads – Locate your brake pads which are situated between your brake shoe (a metal part) and your brake drum (an inner circular part). Use a flashlight if necessary for better visibility. Observe for signs of wear such as thinning less than quarter inch or uneven wearing on different sides of pads.
Testing Brake Pads – Apply pressure to each pad with a screwdriver; if they move easily, it could indicate excessive wear and need for replacement.
Measuring Pad Thickness – For a more accurate assessment, use caliper tool or ruler to measure thickness of pads; anything less than 3mm indicates need for immediate replacement.
Conclusion
Regular inspection of your brake pads is key to ensuring optimal safety while driving. By understanding signs of wear and being equipped with required tools, checking your brake pads becomes easier and more efficient. Remember that worn out brake pads not only compromise on safety but also affect braking performance leading to potentially costly repairs in future. If you notice any signs that suggest excessive wear during inspection, it’s advisable that you consider replacing them immediately or seek professional help if unsure about next steps. Remember – prevention is always better than cure, and this is a truism when it comes to ensuring safety on the road. So, make brake pad check-ups part of your regular vehicle maintenance routine. Happy and safe driving!