Brake dust shields are super important for your car’s brakes. They do two main things: help the brakes work better and keep your car looking nice. Brake dust is a big problem that lots of drivers must deal with. It makes your car dirty and can even mess up how well the brakes work. So, it’s really important to know how brake dust shields work if you’re thinking about taking them off. Let’s learn all about brake dust shield removal so you can make smart choices for your car.
What Are Brake Dust Shields?
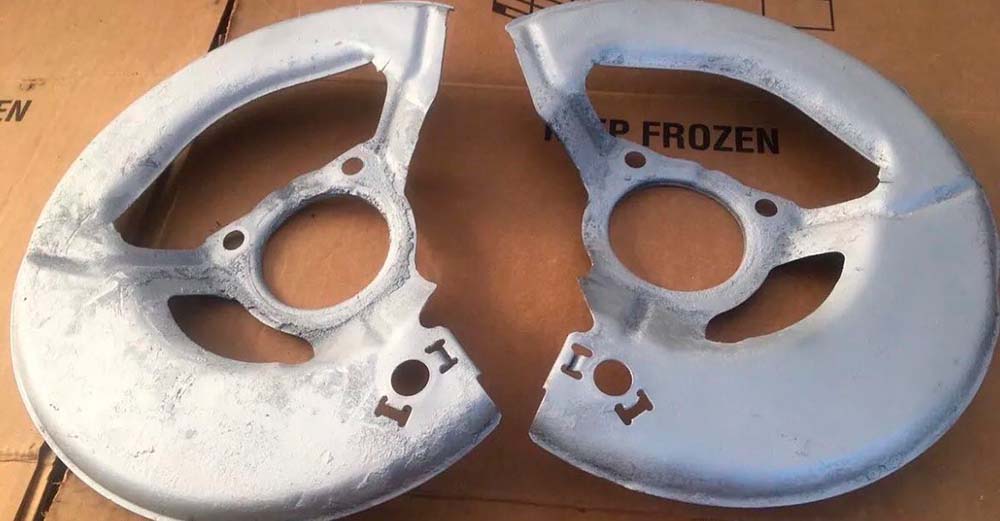
Brake dust shields are protective covers that are fitted over a vehicle’s brake components to protect them from road debris and dirt. They are generally made of either metal or plastic. These shields help to keep the brakes cleaner, providing resistance against dirt, dust, water, and other contaminants that may cause premature wear on the brakes. The shields also protect against road salt and other corrosive materials that can accelerate the deterioration of brake components. Brake dust shields help to extend the life of your brakes by preventing sediment buildup and rusting on critical brake components such as rotors, drums, calipers, pads, and shoes. Installing a set of brake dust shields will also improve your car’s overall appearance by keeping its brakes clean.
Tools and Supplies Needed for Removal
Before you can begin the process of removing brake dust shields, you’ll need to have a few basic tools and supplies. The exact tools and supplies required will depend on the make and model of your vehicle, but in general, you’ll need some pliers or wire cutters, a screwdriver (Phillips-head or flat-head), an adjustable wrench, safety glasses, and a ratchet set. Having lubricant available can be useful to assist in the process of removal. Additionally, if your vehicle is equipped with plastic shields then you’ll also need a heat gun or hair dryer to soften up the plastic before attempting removal.
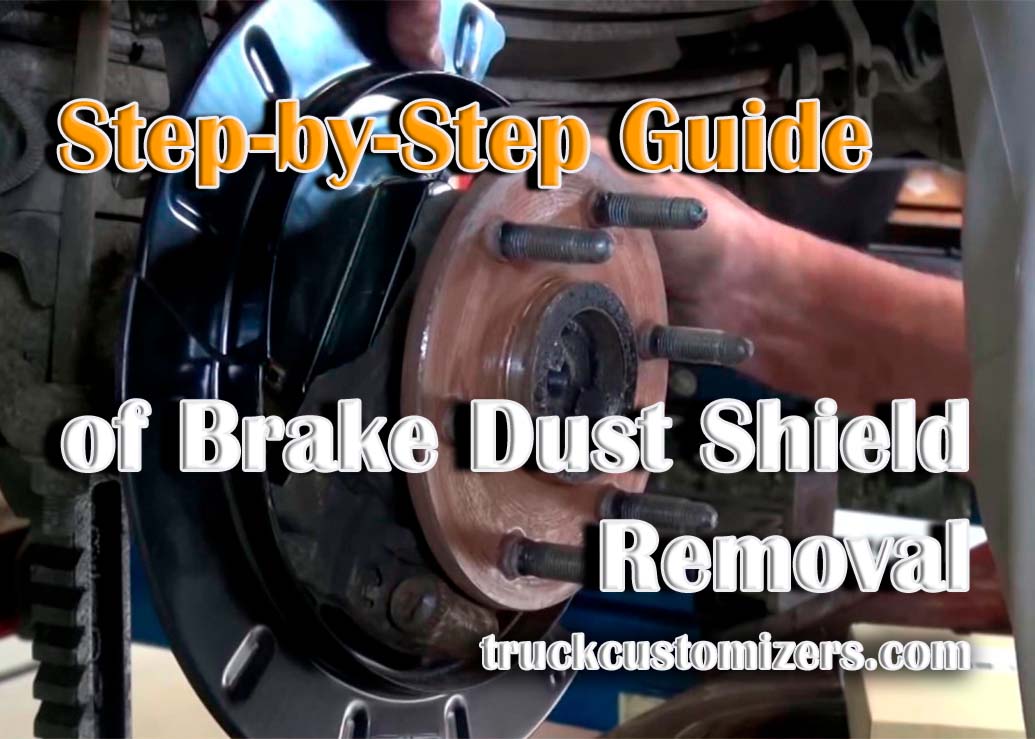
Step-by-Step Guide for Shield Removal
Now that you’ve gathered all the tools and supplies you need, here’s a step-by-step guide for removing brake dust shields from your vehicle:
- Start with the wheels that you’re going to be removing the shields from. Loosen the nuts and bolts on the wheel and remove it.
- Use your pliers or wire cutters to remove any rivets or clips that are holding the shields in place.
- If your vehicle is equipped with plastic shields, use a heat gun or hairdryer to soften up the plastic before attempting removal.
- Use a screwdriver or an adjustable wrench to remove any screws that may be holding the shield in place.
- Once all the fasteners have been removed, carefully lift off the shield and set it aside for later disposal or recycling (if possible).
- Repeat this process for each wheel until all the brake dust shields have been removed from your vehicle’s wheels.
What to Do after Shield Removal
Once you’ve removed the brake dust shields, you should take some steps to ensure your vehicle’s brakes are in top shape and looking good. First, check for any dirt and debris that may have accumulated on the brake components since they were last cleaned. If you come across any dirt or debris, use a soft cloth and brake cleaner to remove it. Then, inspect all the brake components closely for signs of wear or damage. Before reinstalling the new shields, it is important to ensure that all necessary parts have been replaced or repaired, if necessary. Additionally, if you’re using metal dust shields then make sure to apply a layer of anti-corrosion spray on them before installing them back onto your vehicle. For those working on drum brakes, a critical aspect of maintenance is proper adjustment. How to Adjust Drum Brakes by Backing Up is an essential guide to also read.
Conclusion
Brake dust shields are an integral component of a vehicle’s braking system. Not only do they keep your brakes looking nice, but they also provide much-needed protection against road debris and dirt. Removing brake dust shields from your vehicle is a fairly straightforward process that doesn’t take too long to complete, as long as you have the right tools and supplies on hand. Just make sure to inspect all the brake components for any signs of wear or damage before putting the new shields back in place. By following these steps, you will be sure your brakes are in excellent shape and looking great!