Before attempting to reattach a tire to the wheel, it is important to identify the necessary supplies and to make sure that they are available before beginning the process.
Gather Necessary Supplies
The supplies necessary for this task include a lug nut wrench, jack, torque stick tool, and a new tire. It is highly recommended that these tools are utilized in order to ensure proper installation of the tire onto the wheel and ultimately, safety while driving on roads.
Jack Up Vehicle and Remove Wheel
Once all of the necessary supplies have been gathered, you may begin jacking up your car in order to remove the wheel with its failing tire from the vehicle. The jack should be aligned properly with your car’s frame or lifting points before being cranked up in order for it to safely lift your entire vehicle off of the ground. The wheel can then be removed by taking off all lug nuts with a lug nut wrench and pulling it away from its holding place on your vehicle’s axle/hub assembly.
Removing Failing Tire from Rim
Once you have taken off the lug nuts and removed the wheel from its holding place on the axle, you may now proceed with removing the old tire from its rim.
Loosen Lug Nuts with Wrench
It is important to loosen the lug nuts before attempting to remove the tire from its rim, as they can be very difficult to take off once they have been secured tightly after installation.
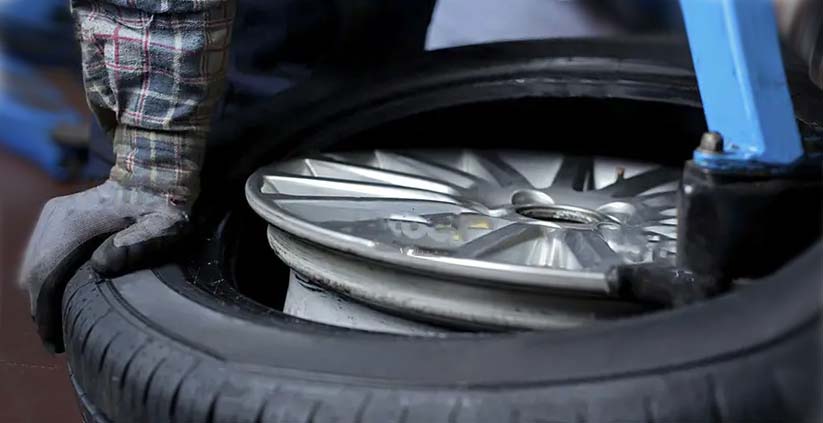
Lift Off Old Tire from Wheel
Once the lug nuts have been successfully taken off, you may then proceed with lifting off of your old tire from the wheel. The old tire can be removed easily by using both hands to pull it away from its rim and set it aside for disposal.
Preparing New Tire for Installation on Rim
The next step of reattaching a tire is preparing your new one for installation on your vehicle’s wheel/rim. Prior to doing so, it is important to make sure that all of the necessary supplies are ready for use and that there is no dirt or debris stuck between your new tire and rim as this could cause difficulties during installation or even safety risks while driving later on down the road.
Installing New Tire onto Rim
Once your new tire is ready for installation, the next step is to place it onto your wheel’s rim. This can be done by using both hands to carefully lift the tire onto its rim and then pushing down until it is secured in place.
Securing New Tire with Lug Nuts and Torque Stick Tool
Once the new tire is securely in place on the wheel’s rim, you may now proceed with securing it with lug nuts and a torque stick tool. The lug nuts should all be tightened evenly around the circumference of the wheel to ensure that all sides are equally secure before proceeding with torqueing them down with a torque stick tool. It is important to follow manufacturer’s instructions when doing this as each vehicle will require different levels of torque when tightening its lug nuts. Proper installation is key to prevent driving issues like understeer, where the front tires lose grip. Understanding what does understeer mean highlights the importance of balanced tire pressure and wheel alignment in maintaining vehicle control.
Lowering Car, Testing Comfortability, and Enjoying Ride
The last step of reattaching a tire is lowering your car back onto its wheels and testing out comfortability while driving on roads before embarking on your journey! After everything has been checked properly, you can now enjoy a safe ride knowing that you have successfully reattached a tire to its rim!