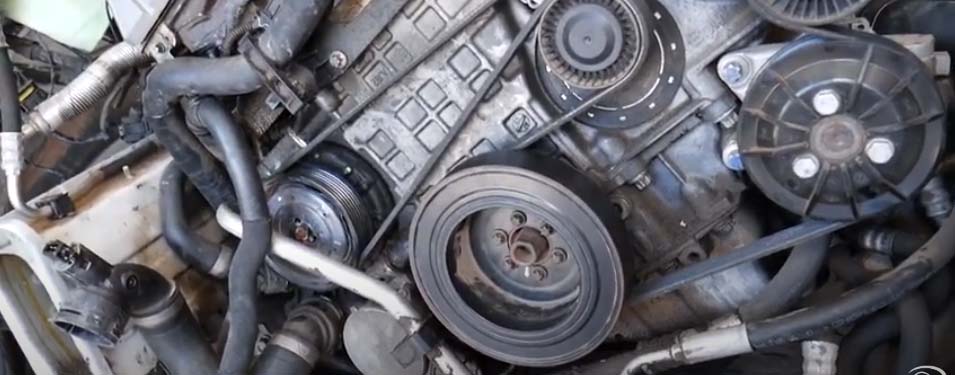
Removing a crankshaft pulley is a straightforward task, but it is important to follow the correct steps to ensure that you don’t damage the components in your engine. This guide will explain how to safely remove a crankshaft pulley, so you can take on this job with confidence.
Tools Needed
Before you start removing the crankshaft pulley, make sure that you have all the tools needed for the job. You will need:
- A breaker bar or ratchet
- A socket set
- An extension bar
- Safety goggles and gloves
- A torque wrench (optional)

Step-by-Step Instructions
-
Start by disconnecting your vehicle’s battery and then remove any covers or shields that are in the way of accessing the pulley.
-
If necessary, use an extension bar and socket set to loosen any bolts holding down the engine bay covers.
-
Attach your breaker bar or ratchet to one of the bolts securing the crankshaft pulley and turn it counterclockwise until it is loose enough to be removed by hand.
-
Once the pulley is loose, remove it carefully and set it aside.
-
If necessary, use a torque wrench to ensure the new crankshaft pulley is tightened correctly when you install it.
-
Reinstall any covers or shields that were removed earlier, reconnect your vehicle’s battery and start the engine to check for any issues.
Safety Tips
When removing a crankshaft pulley, it’s important to take safety precautions:
-
Always wear protective eyewear and gloves when working on an engine.
-
Make sure that all bolts are completely loosened before attempting to remove them by hand.
-
Use caution when reattaching the new crankshaft pulley; make sure that all bolts are tightened securely but not overtightened.
-
Never operate a vehicle if you suspect there’s something wrong with the engine or its components.
Conclusion
Removing a crankshaft pulley isn’t as difficult as it may seem – with these step-by-step instructions and safety tips, you can confidently tackle this job on your own in no time!


