The idle air control valve (IAC) is an important part of a car’s engine. This valve controls the amount of air that flows into the engine, which regulates the idle speed and helps maintain fuel efficiency. If it isn’t working correctly, it can cause a variety of problems, including stalling and poor gas mileage. Fortunately, unplugging an idle air control valve is a relatively simple procedure that can be done in five easy steps.
What is an Idle Air Control Valve?
An idle air control valve is an electronically operated computer sensor that regulates the amount of air entering the engine at idle or low speed situations. The IAC helps keep the engine running smoothly when idling or driving at low speeds by compensating for any changes in airflow caused by varying temperatures or load conditions such as using power steering or brakes. It does this by controlling how much air enters the intake manifold, and adjusting how much fuel is delivered to match it for optimal performance and fuel efficiency.
Reasons for Unhooking the Valve
The most common reason to unhook an IACV is if you are experiencing issues with your vehicle’s performance such as rough idling, stalling, or poor gas mileage. Unhooking the valve is a way to reset the system and possibly address any issues. It can also be used as a troubleshooting tool to help diagnose any problems with the IACV or other components of your vehicle’s engine.
The Procedure for Unhooking the Valve
-
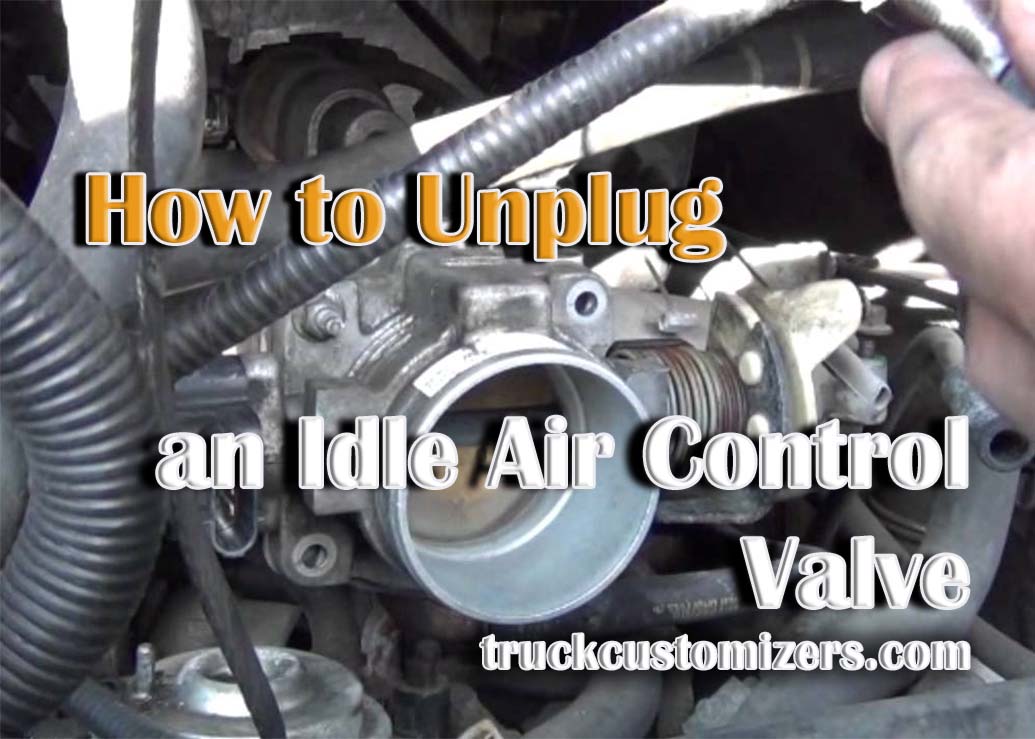
Start by locating the IACV on your car’s engine. It is usually located near the throttle body and is connected to wiring harnesses and hoses. Some vehicles will have an access panel that can be removed to expose it without needing to take apart too many components of the engine bay.
-
Once you have identified it, unplug both electrical connectors from its back side using a flat head screwdriver if necessary. Be sure not to pull on any wiring connections when disconnecting them from their harnesses as this could damage them, resulting in further issues down the line.
-
After disconnecting both electrical connectors, you will need to remove all hoses connected to it as well as any attaching hardware such as bolts or screws that hold it into place on your car’s engine block or intake manifold cover plate if present. To do this, you will need a wrench or socket wrench to take the nuts and bolts off. Make sure to keep track of all the parts and pieces that you remove so that you can easily put them back together when re-attaching the IACV later on.
-
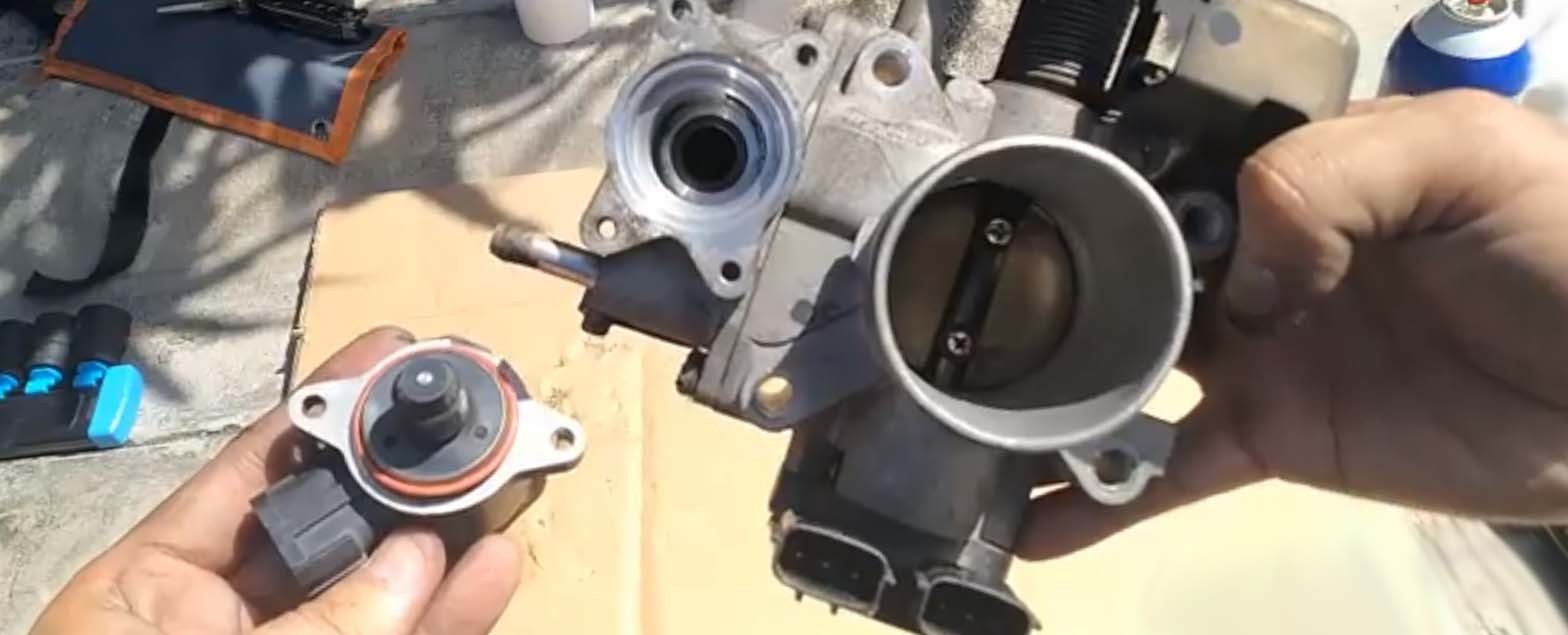
Once all components are detached from it, carefully lift up on the IACV assembly and pull it out from its location in your car’s engine bay.
-
Finally, once unplugged and removed, inspect your IACV for any signs of damage or wear such as corrosion or broken parts before attempting to re-attach it to your car’s engine block or intake manifold cover plate if present.
Troubleshooting Tips in Case of Errors
If after unhooking your IACV you still experience issues with your vehicle’s performance such as rough idling or stalling, some additional steps may be necessary before replacing it altogether:
-
Reset any codes stored in the vehicle’s ECU (engine control unit) related to idle air control valve malfunctions by disconnecting the battery for several minutes which can help reset any errors associated with its function
-
Inspect all the components of the IACV for signs of wear or damage and replace any parts that appear to be faulty
-
Clean the IACV with a brake parts cleaner to remove any buildup of dirt or carbon deposits which can interfere with its operation
-
Check your car’s air filter as a clogged filter can cause poor performance and fuel economy problems
Conclusion
Unhooking an idle air control valve is a relatively simple procedure that can help address issues related to your car’s engine performance. However, if you experience further problems after unhooking it, additional troubleshooting may need to be conducted before replacing it altogether. If your vehicle is still experiencing issues after following these steps, it’s best to take it in for professional service.