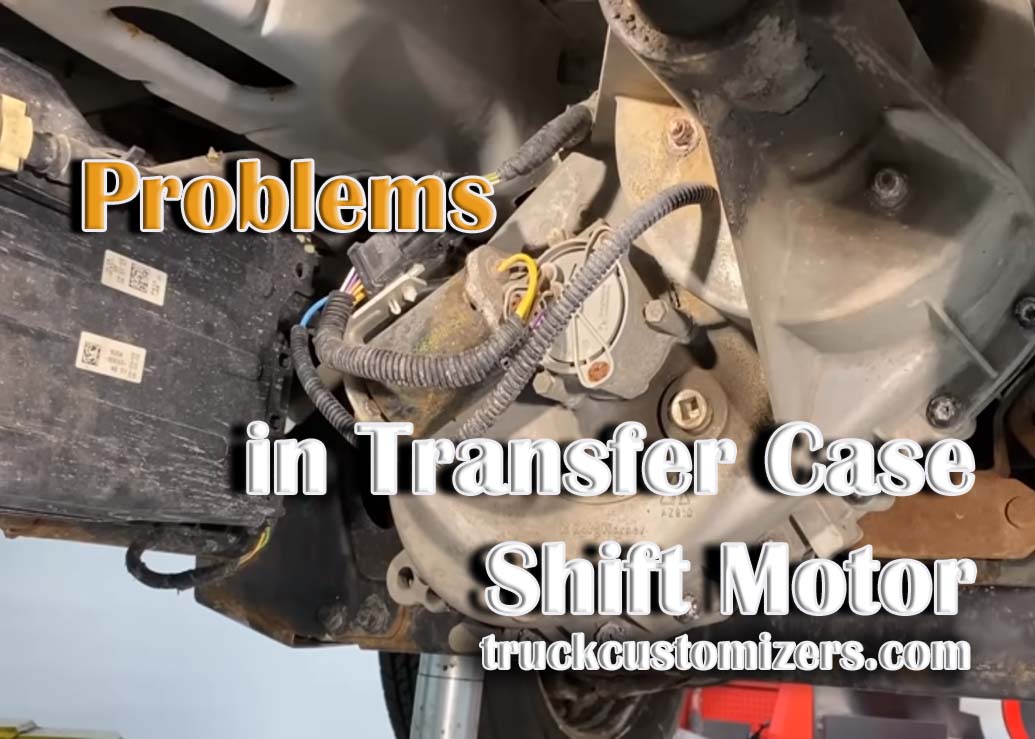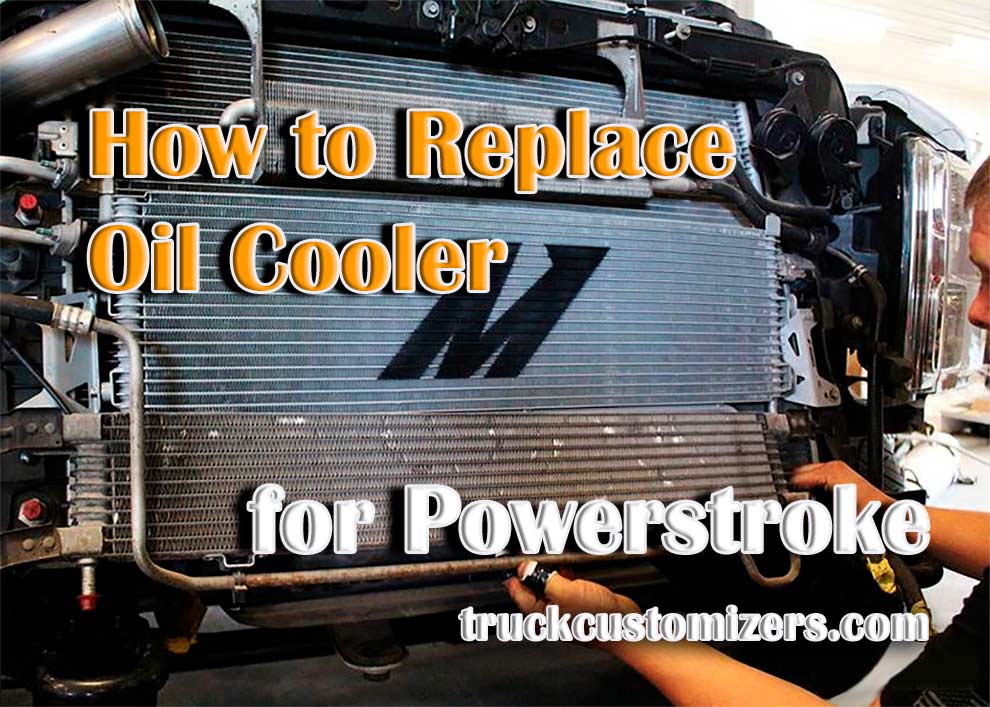
The operation of the engine generates excessive heat. It must be disposed of, otherwise, the power unit will quickly fall into disrepair. This is especially important in the case of powerful turbocharged engines. The process of oil temperature reduction in the crankcase sump, which is blown by a counter airflow, is enough to cool the power units that are not operating at their maximum capabilities. But boosting the engine, increasing the power by 30% or more, replacement with another motor of high power makes the regular cooling system powerless. That’s why it’s very important to change the oil cooler for your Powerstroke in time and today I’ll tell you how to replace oil cooler for Powerstroke properly!
Main Instructions
 If you are wondering about 6.0 Powerstroke what tool are needed for oil cooler, then it is only the basic tools.
-
To start finding out how to replace oil cooler for 6.0 Powerstroke, we first need to drain the coolant, to do this bleed the system by gradually opening the expansion tank. Be careful, there is a risk of steam burns.
-
After that open the drain cock on the radiator, or unclip the bottom radiator connection, and drain the coolant through it.
-
Then it is required to empty the air conditioning system contour and take off the upper intake manifold, after that, we demount the air conditioner compressor and take off the left casing roller of the poly-V belt, the same way we need to unscrew the screw and take out the dipstick guide tube to define oil level.
-
Then we need to unscrew the bolts and release the wiring harness. After that, we separate the crankcase ventilation tube from the hoses and remove it.
-
Then loosen the bolts and push the actuator of the switching flap of the exhaust gas recirculation system to the right side.
-
Next, remove the coolant hose from the left exhaust gas recirculation system connector, and remember to also remove the coolant hose from the oil cooler.
Be sure to follow the following instructions, it is easiest to put a rag under the oil cooler, which will simplify the collection of escaping engine oil, and then unscrew the bolts and remove the engine oil cooler.
Important Tips
Installation is done in reverse order, with the following factors, the torque, for example, is a key feature of the assembly of the unit, also follow the instructions, on the repair. We will be required to replace all gaskets and o-rings, as well, secure all hose connections, use clamps of the appropriate series. Check the correct installation of the exhaust gas recirculation system switching flap actuator, then install the crankcase ventilation system tube and install the oil dipstick guide tube, then install the left bypass roller of the poly-V belt. The next step is the process of installing the air conditioner compressor. After that you will need to install the upper part of the intake manifold and fill the air conditioning system circuit, then you need to fill the engine oil and check its level. Also, do not forget to fill up the coolant.
That’s It!
Replacing the oil cooler is a task you won’t have any trouble solving if you call an auto service center for help. Experienced auto mechanics, masters of their craft are at your service. They will carefully examine your car, give some piece of advice on what is the best oil cooler for a 6.0 Powerstroke and conduct diagnostics of its systems and work out the program of measures aimed at elimination of detected faults. In case of insignificant damage to the equipment, specialists recommend repair. But in most cases, it is still necessary to replace the oil cooler or its elements. After completing the repair mechanics will test the systems to check the performance of oil equipment, adjustment, and correction of operational indicators, and tell you how to test for leaking oil cooler 6.4 Powerstroke. But if you still decided to do it yourself, today I told you that it is very simple and fast. Also, I hope that this article was useful for you!