
Changing your car’s fuel filter is an important part of routine maintenance. A dirty or clogged fuel filter can reduce the amount of fuel that reaches the engine, causing it to run inefficiently and eventually leading to engine problems. Fortunately, changing a fuel filter is a relatively straightforward process that only requires a few basic tools. In this guide, we will walk you through the steps needed to successfully change your car’s fuel filter.
Identifying the Type of Fuel Filter Needed For Your Car
The first step in changing your car’s fuel filter is identifying what type of filter is needed for your make and model. This information can be found in your vehicle’s owner’s manual or on the manufacturer’s website. The type of filter will depend on whether you are using regular gasoline or diesel fuel as well as whether you have an older vehicle with carbureted engines or newer vehicles with injection systems.
Tools and Materials Needed For the Job
Once you know what type of filter you need, it is time to gather up all the tools and materials necessary for replacing it. You will need a jack and jack stands if necessary for raising your vehicle off the ground, pliers, a wrench set and/or screwdriver, and a fuel line disconnect tool. You will also need to purchase the correct size replacement filter for your vehicle.
Removing The Old Filter
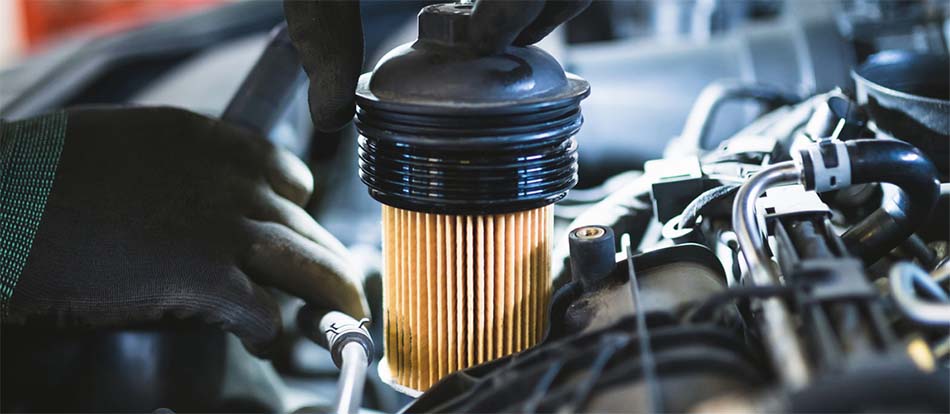
Now that you have all the necessary tools and materials, it is time to begin removing the old fuel filter. First, jack up your vehicle and support it with jack stands. Next, locate the fuel filter which is usually found near the engine or in the fuel line. Then disconnect any clamps or lines that are holding it in place using a wrench or screwdriver. Finally, use pliers to remove any hoses or electrical connections connecting the old filter to other parts of the engine before removing it from its housing completely.
Installing The New Filter
Once you have removed the old filter from its housing, you can install your new one in its place using reverse order of removal for most vehicles. First insert any hoses and electrical connections into their corresponding ports on the new filter before placing it into its housing. Then secure it using clamps or lines that were removed earlier as well as a new clamp if necessary for additional security. Finally reconnect any disconnected hoses with a fuel line disconnect tool before replacing the fuel line’s cap.
Finishing Up and Disposal of Old Filters
Once you have installed the new fuel filter, it’s important to finish up the job properly. This includes disposing of the old filter safely by either returning it to an auto parts store or taking it to your local hazardous waste site. Also be sure to check for any leaks in the fuel line and tighten any loose connections. Finally, lower your vehicle off its jack stands before taking a test drive around town and checking that the engine is running correctly.
Conclusion
Changing your car’s fuel filter is an important part of routine maintenance that can help keep your vehicle running smoothly and efficiently for years to come. While it can be intimidating at first, with a little patience and some basic tools you should have no problem completing this job yourself at home with relative ease. Follow these steps carefully, dispose of old filters safely, and you should have no problem giving your car a clean new filter in no time!