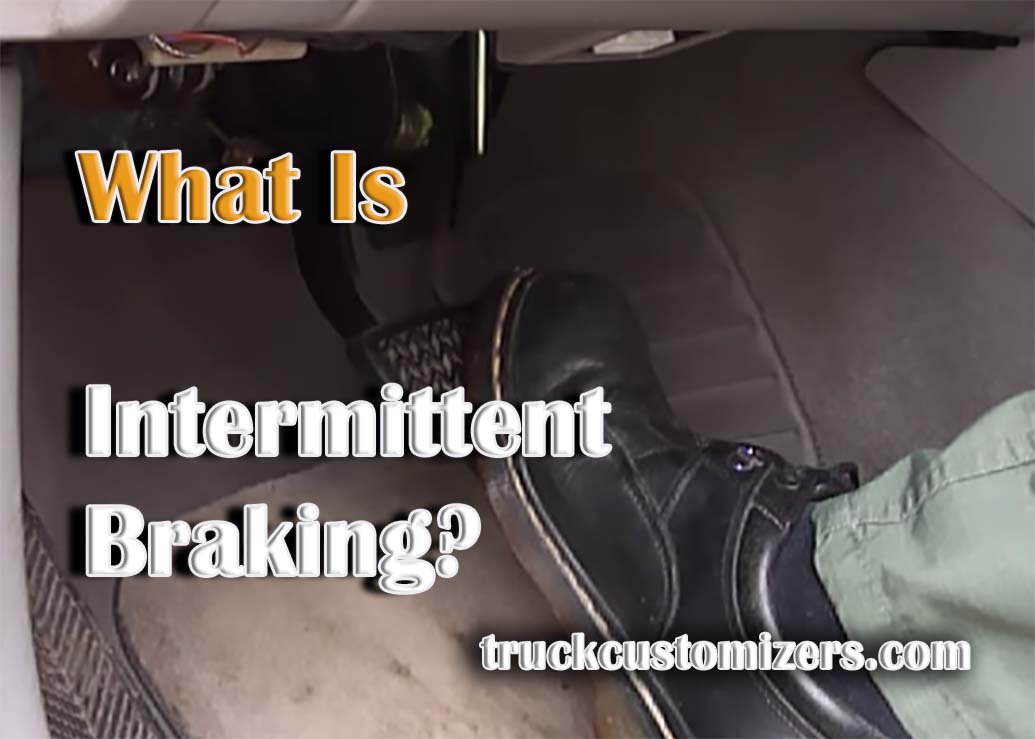
The drum brakes on a vehicle are an important part of its braking system and should be regularly maintained in order to ensure safe driving conditions at all times! Adjusting a vehicle ‘s drum brakes is a relatively straightforward task that can be done by most DIYers. By following the steps outlined in this article, you will be able to adjust your drum brakes quickly and easily.
Preparing Your Vehicle for Adjustment
Before adjusting drum brakes, it’s important to take the necessary safety precautions. Make sure you have a firm grasp on the vehicle and always use wheel chocks when necessary.
-
Jacking Up the Vehicle: Begin by jacking up your vehicle using a jack and some jack stands for support. Once it is secured, remove the tire from the wheel assembly.
-
Remove the Wheel and Tire: Using a wrench, loosen and remove all of the lug nuts from around the wheel before carefully removing it from your vehicle. Make sure to place it off to one side so you don’t damage any of its parts during adjustments!
-
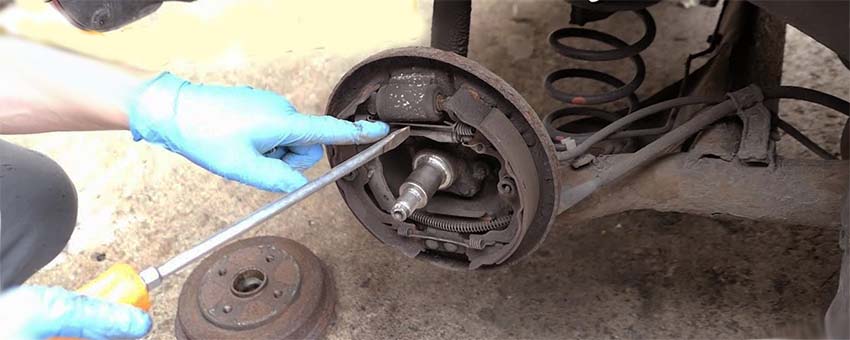
Accessing The Drum Brake Assembly: Once you have removed the tire, you will need to access the brake assembly in order to make any necessary adjustments or repairs. This can be done by removing any clips or screws that may hold it in place as well as pulling out on any slack found within its components so they are easier to access. Also learn the common causes of a sinking brake pedal and how to quickly repair it yourself.
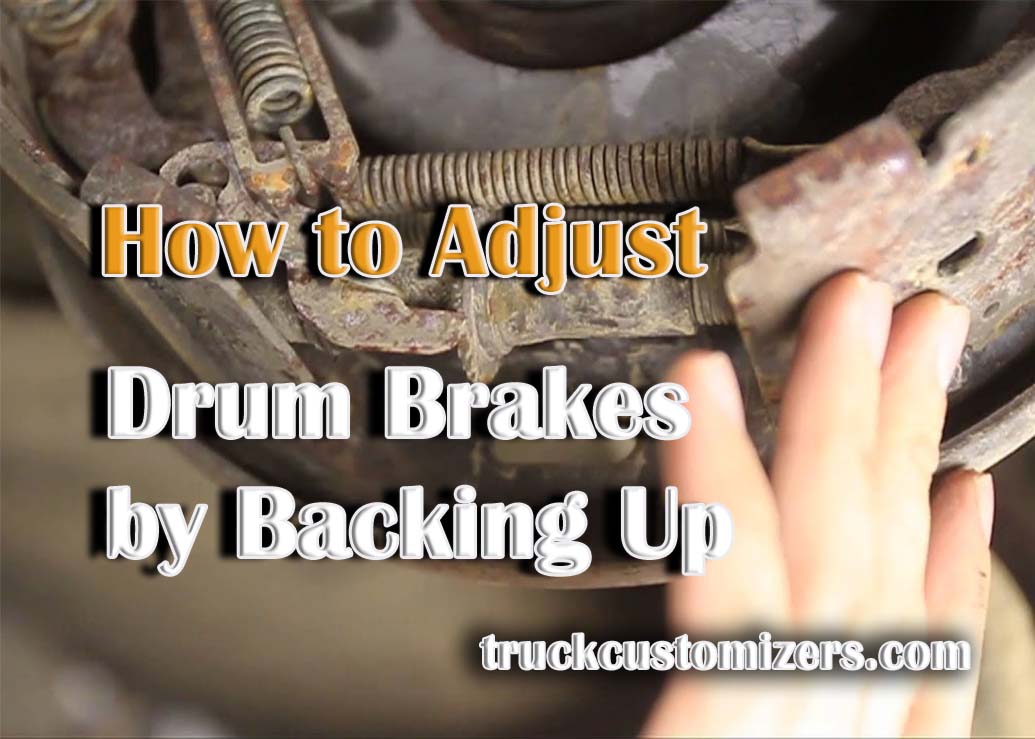
Adjusting The Brakes
Now that you have access to the brake assembly, you can begin making adjustments.
-
Loosening The Return Spring: Start by loosening the return spring before turning the star wheel in order to adjust any slack within your brakes. Be sure not to over-tighten this piece as it could cause damage to other parts of your vehicle!
-
Turning The Star Wheel: Once the return spring has been loosened, begin slowly turning the star wheel in a clockwise motion until there is just enough tension for the brakes to function properly without being too tight. This can be determined by pressing down on the brake pedal and feeling for any resistance in its movement when doing so.
-
Tightening The Return Spring: After adjusting the star wheel, it’s time to tighten up the return spring again so that it will hold its position while driving and not require frequent readjustment due to vibration or wear and tear on other components within your vehicle’s braking system!
Finishing Up
Before testing your brakes, double check all components are secure and nothing has become loose during adjustment. Also make sure none of the screws or clips were damaged during installation or removal.
-
Checking and Testing: Once everything is secure, slowly press down on the brake pedal in order to test out how it feels and make sure the brakes are functioning properly. If it does not feel right, you may need to readjust or replace some of your components for better performance.
-
Reinstalling The Wheel And Tire: Once you have tested your brakes and found that everything is functioning correctly, reattach the wheel and tire before slowly lowering your vehicle back down onto a level surface.
Conclusion
Adjusting drum brakes is relatively straightforward as long as all safety precautions are taken before beginning the process! With patience and a bit of time, anyone can make these important adjustments themselves in order to ensure their vehicle’s braking system remains in tip-top condition at all times!