Brake calipers are an important component of a vehicle’s braking system; they help to slow and stop the car when needed. Unfortunately, brake calipers can become loose over time, leading to a decrease in braking performance and potential safety hazards. It is important to identify the signs of a loose brake caliper, as well as know how to fix them. In this article, we will discuss how to identify and fix a loose brake caliper.
Signs of a Loose Brake Caliper
When a brake caliper becomes loose, it will cause noticeable changes in the vehicle’s handling and performance that may indicate an issue with the brakes:
- Unusual shaking or vibrations felt while braking
- Uneven wear on tires
- Brakes feeling spongy or soft when pressed down on
If any of these symptoms are present, it is highly likely that there is an issue with the brake caliper. To determine if the issue is indeed related to a loose brake caliper, further inspection must be done.
Fixing a Loose Brake Caliper
Fixing a loose brake caliper is relatively simple, and can be done in four steps.
Step 1: Locate the Problem Area
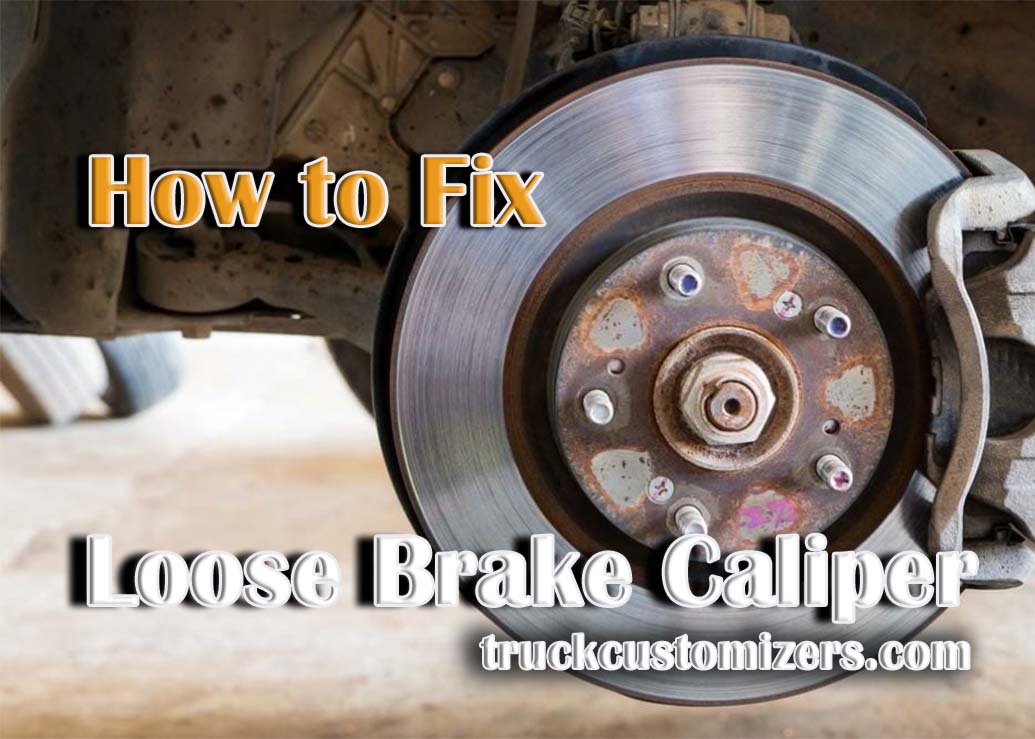
The first step is to locate where the problem area is. To do this, open the hood of the vehicle and locate the brake calipers. Inspect them for any signs of wear or rust that may indicate an issue with the caliper. If there are any visible signs of damage, it will need to be replaced with a new one.
Step 2: Check the Bolts
Once you have located the problem area, it is time to check on the bolts that hold the caliper in place. If they are too loose or broken, this could be causing your issue. Make sure all bolts are tight and secure before continuing on to Step 3.
Step 3: Re-tighten The Bolts as Needed
If you find that any of your bolts are still too loose after checking them in Step 2, you will need to re-tighten them using a torque wrench and an appropriate socket size for your vehicle’s bolt type (metric or standard). Do not over-tighten these bolts as this could cause damage to both your brakes and your vehicle’s suspension. Read here about Rust-Free Brake Rotors.
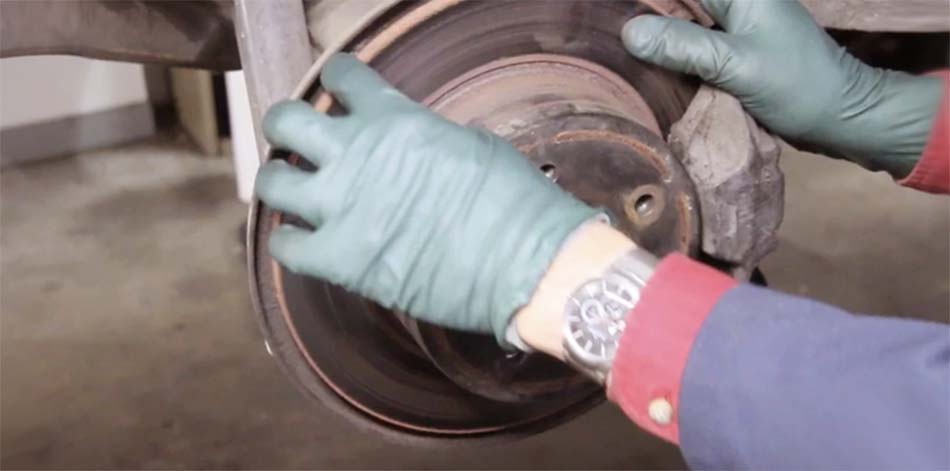
Step 4: Reassemble and Test Drive the Vehicle
Once all bolts are tightened, it is time to reassemble the area and test drive the vehicle. Make sure to check for any changes in performance before continuing driving. If there are still signs of a loose brake caliper after tightening the bolts, you may need to replace the entire caliper instead of just re-tightening it.
Conclusion
Being able to identify and fix a loose brake caliper is essential for any vehicle owner. By following these four simple steps, you can easily determine whether or not there is an issue with your brakes and take corrective action as needed. As always, safety should be your first priority when dealing with any vehicle repairs – if you have any questions or concerns about this process, consult a licensed mechanic for assistance.