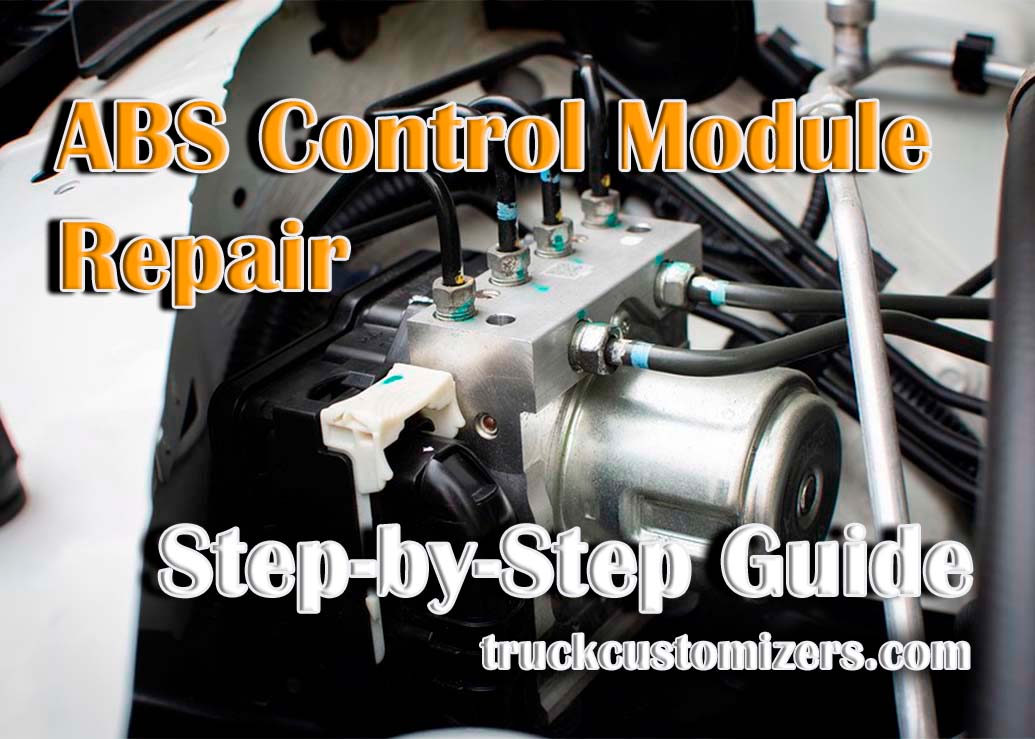
The ABS control module is critical to a vehicle’s anti-lock braking system. It is responsible for controlling the ABS system and ensuring that all four wheels are working in unison to provide maximum stopping power, stability, and control. A malfunctioning ABS control module can cause your vehicle to become dangerous to drive due to decreased stopping power. Therefore, it is important to have your module repaired as soon as possible by a professional mechanic if it begins to malfunction. In this article, we will discuss the symptoms of an issue with the ABS control module, how it can be identified, and how it can be repaired correctly. We will also look at some tips for preventing future issues with the module so you can keep your car safe on the roads.
Identifying a Faulty ABS Control Module
A faulty ABS control module can be identified by certain symptoms. If you experience any of the following issues, your ABS control module likely needs to be repaired:
- Your car’s brakes become unresponsive or take longer to stop than usual.
- You hear grinding noises or feel vibration when braking.
- Your ABS warning light comes on unexpectedly on the dashboard.
- The brakes become overly sensitive and lock up suddenly when applied with only slight pressure.
- The vehicle pulls to one side when braking or skids unexpectedly during cornering and turning maneuvers.
It is important to have your vehicle inspected immediately if you experience any of these symptoms as they could indicate a serious issue with the ABS control module that needs immediate attention.
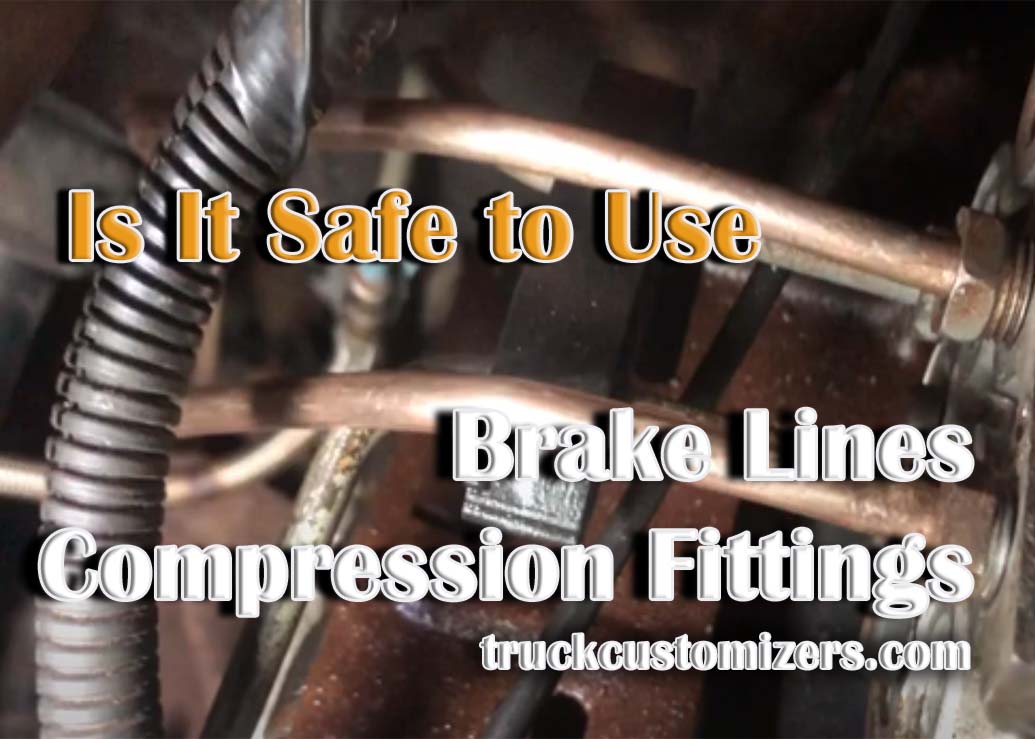
Removing the Old ABS Module
Once you have identified a faulty ABS control module, the first step in repairing it is to remove the old module. This process is simple, yet it’s crucial to adhere to all safety measures while performing it. Begin by detaching the battery and then allow a waiting period of at least 30 minutes before you continue. This will allow time for any residual electrical charge in the system to dissipate and prevent any potential short circuits caused by accidental contact with live wires.
Next, locate the ABS control module in your vehicle’s wiring harness. It should be mounted near your car’s dashboard or beneath the seat. Gently pull out the old ABS module from its mountings and unplug any cables connected to it. Be sure not to damage any of these components as this could lead to further problems down the line. Once you have removed all connections from the old part, set aside for safe storage and discard responsibly when no longer needed.
Installing The New Module
With the old module now removed, you can proceed with installing a new one in its place. Begin by connecting all wiring harnesses back into their respective positions on your new part as per your vehicle’s manufacturer guidelines – paying special attention not to damage any of them during installation or create short circuits due to incorrect placement of cables or plugs on connectors were indicated on diagrams provided by the manufacturer (if applicable). Then mount back into its original location making sure that correct tension strength settings are observed for ensuring stability and security of fitment during the operation of brakes while driving/braking maneuvers are performed correctly without causing further accidents due to fatigue/loosening/inaccurate fitment or tensions applied which could result in dangerous scenarios on roads.
Final Checks and Testing
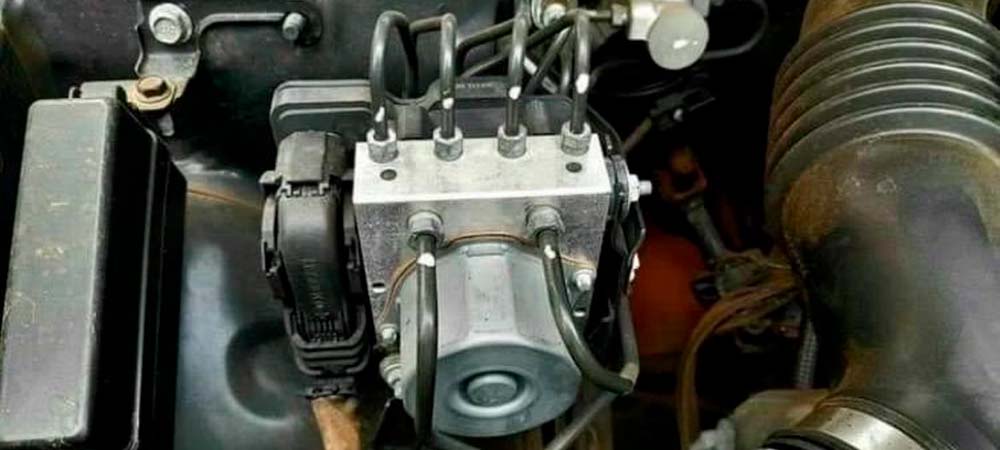
Once the new ABS control module is installed, you can perform some final checks and tests to ensure that it is functioning correctly. Begin by examining each wiring connection to confirm they are firmly connected and free from any form of damage. You should also check for any potential leaks or corrosion in the brake system itself – if there is any present, it should be addressed immediately as this could lead to more serious issues with the ABS control system down the line.
Finally, test out your new ABS control module by taking your vehicle for a short drive around the block. Pay attention to how it responds when you apply pressure on the brakes – if everything appears to be working correctly, then you have successfully completed your repair. For those operating larger vehicles, like semi trucks, also read about the Best Jump Starter for Semi Trucks to ensure you’re prepared for any starting issues during your journeys.
Conclusion
A faulty ABS control module is a serious issue that needs to be addressed as soon as possible. In this article, we have provided a step-by-step guide on how to repair your ABS control module correctly – from identifying any issues to removing the old part and installing the new one. Additionally, we have also looked at some tips for performing basic tests and checks on the module after installation to ensure that it is functioning correctly. If you follow the steps outlined in this guide, you can rest assured that your ABS control module has been repaired properly and will keep your vehicle safe on the roads.