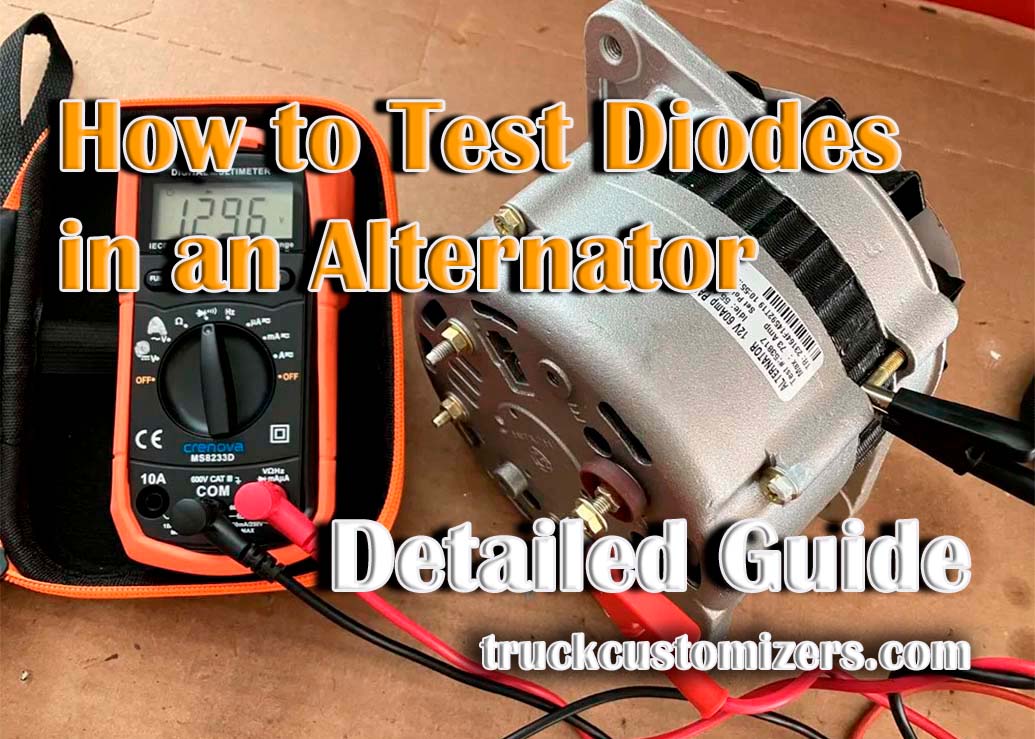
Ever wondered how to test diodes in an alternator? Diodes in the alternator are crucial components for the charging system of your vehicle. Diode testing is crucial for diagnosing potential issues with the alternator, and knowing how to test them can save you time and money on repairs. Understanding the ins and outs of alternator diodes empowers you to troubleshoot problems effectively, ensuring your vehicle runs smoothly. In this post, we’ll delve into the significance of alternator diodes and provide a comprehensive guide on how to test them, giving you the confidence to tackle any related issues head-on.
What Is a Diode in an Alternator?
The diode in an alternator works to regulate the current passing through it by only allowing it to flow in one direction. It is composed of two layers of semiconductor material, with the first possessing a positive charge and the second having a negative charge. This arrangement allows for the current to be managed, ensuring that the alternator operates correctly. When a voltage is applied across the diode, current will only be able to flow in one direction, and not the other. The rectifying action provided by diodes in an alternator helps maintain its efficiency and ensures that it produces clean electrical power for use in cars and other automotive applications.
Signs of a Failed Diode
A sign that a diode has gone bad is typically when the battery warning light on the dashboard lights up, which suggests a charging system problem. Another sign is a whining or buzzing noise coming from the alternator, often caused by a diode failing to regulate the electrical current properly. This malfunction can lead to electrical issues, such as flickering or dimming lights, especially when other systems like the air conditioner or radio are in use. In more severe cases, a failed diode can result in a significant decrease in power, affecting the vehicle’s overall performance. Additionally, a malfunctioning diode can allow the battery to drain while the vehicle is off, leading to starting problems. It’s essential to address these symptoms promptly, as a faulty diode can cause further damage to the electrical system and potentially lead to a complete alternator failure.
How to Test Diodes in an Alternator
If you suspect that the diode in your alternator has failed, it’s important to test it before replacing it. Here’s how to do it:
- Set up a multimeter according to the manufacturer’s instructions.
- Disconnect the negative terminal from the battery and remove any other electrical components that may be connected to the alternator.
- Attach one of the multimeter’s probes to one end of the diode and attach the other probe at least five inches away from this end.
- Adjust your multimeter settings to measure resistance and note down any readings you get.
- Reverse the position of both probes and adjust your multimeter settings again. Note down any readings you get this time round, too.
- Compare your readings with those on a chart or online resource which show typical diode resistance values for different types of diodes (for example, silicon diodes typically have a resistance range between 0-0.6 ohms). If your readings are outside of this range, then it’s likely that your diode has failed and needs replacing.
Replacing Failed Diodes in an Alternator
Begin by safely removing the alternator from your vehicle, ensuring the battery is disconnected to avoid any electrical hazards. Once removed, open the alternator’s rear cover to access the diode assembly. Carefully inspect the diodes; these tiny components are crucial for converting AC to DC power. Identifying failed diodes usually involves looking for signs of burning or breakage.
After pinpointing the defective ones, unsolder them from the circuit board, taking care not to damage surrounding components. Replace them with new, compatible diodes, ensuring they are correctly oriented and securely soldered. It’s imperative to use diodes that match the specifications of your alternator for optimal performance. After the new diodes have been installed, the alternator should be put back together and then re-fitted into the vehicle. Reconnecting the battery and testing the alternator will confirm the success of your repair, signifying a rejuvenated electrical system ready to support your vehicle’s demands.
Conclusion
Checking and swapping out diodes in an alternator is a task that anyone can accomplish at home with the correct equipment and knowledge. Proper diagnosis requires a multimeter, allowing you to compare readings against typical resistance values for different types of diodes. Understanding what a diode does and knowing how to identify signs of failure will help diagnose any issues quickly. A faulty diode can lead to further damage, from battery drainage to the complete failure of the alternator, so it’s important to address any symptoms promptly. Armed with this guide on how to test diodes in an alternator, you’ll know exactly how to go about troubleshooting any related issues with your vehicle’s charging system.