Custom painting your vehicle’s dashboard is more than just an aesthetic enhancement; it’s a way to breathe new life into your car’s interior, especially for restoring worn or outdated surfaces. It’s also an opportunity to infuse a unique, personalized style into your vehicle, setting it apart from the rest. This comprehensive DIY guide is designed to walk you through the entire process of dashboard painting, starting from the initial preparation to the final touches. We’ll delve into the best practices and techniques for prepping the dashboard surface, choosing the right type of paint and finish, and applying the paint for optimal results.
Additionally, we will address potential issues that might arise during the painting process and provide solutions for troubleshooting them effectively. Also, we will provide instructions for the upkeep and maintenance of your newly painted dashboard, helping it to stay in immaculate shape for many years ahead. By following these key steps, you can achieve a seamless and durable finish that not only looks professionally done but also reflects your taste and style.
Benefits of Painting Your Dashboard
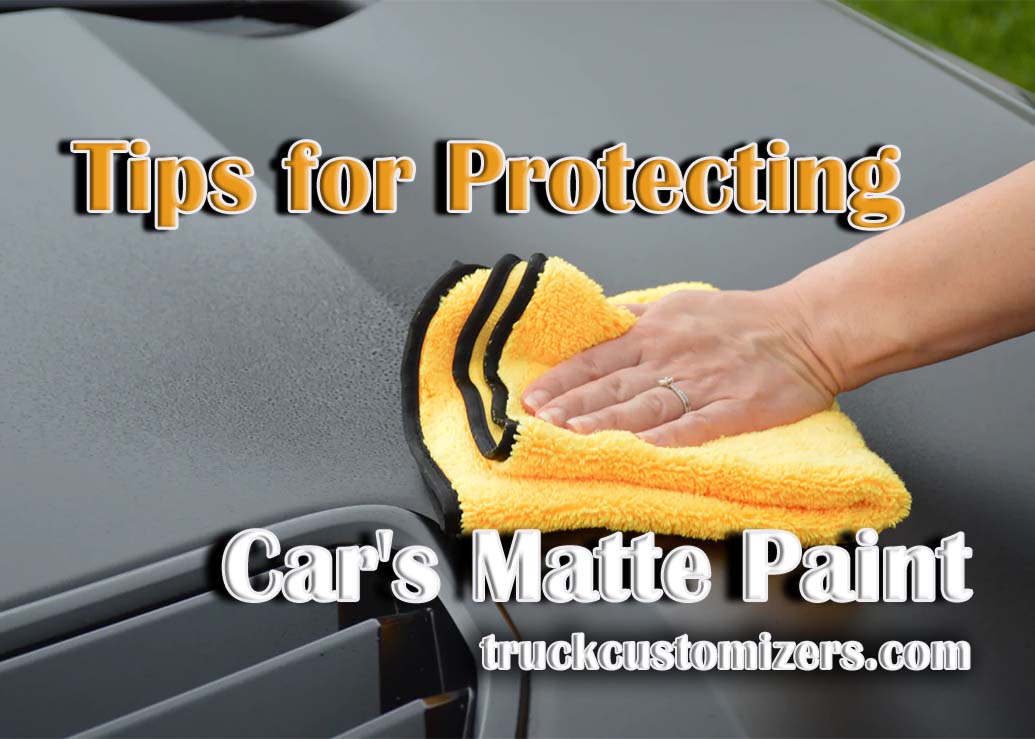
Painting your dashboard is more than just a cosmetic upgrade; it’s a practical way to protect and revitalize the interior of your vehicle. Applying a new layer of paint to the dashboard can protect it against UV rays, thereby diminishing the chances of cracking and deterioration in the long run. It’s an affordable way to customize the look of your car, allowing you to match the interior with the exterior or add personal flair. A well-kept and visually appealing car interior can significantly increase your vehicle’s value, making it more attractive to potential buyers in the market for resale.
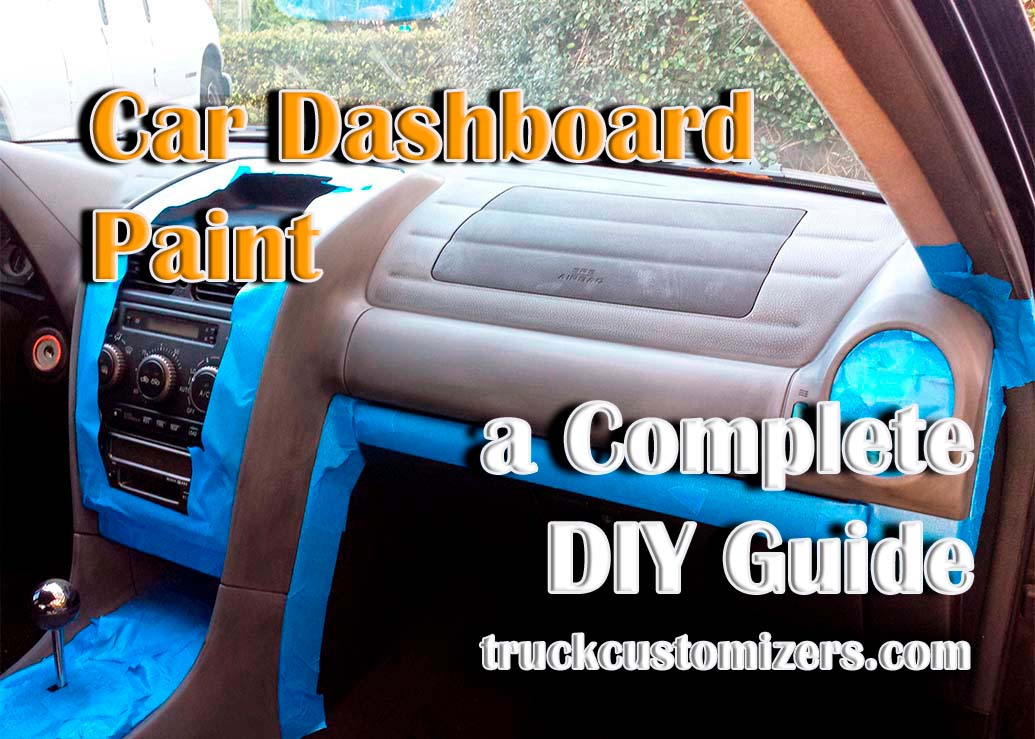
Preparing the Dashboard Surface
The key to a successful dashboard painting job lies in thorough preparation. Begin the cleaning process of the dashboard by using a gentle soap mixed with water, aiming to eliminate any gathered dust, grime, and oily substances. Once clean, use fine-grit sandpaper to lightly scuff the surface. This step is crucial for creating a texture that helps the primer and paint adhere more effectively. After sanding, wipe down the dashboard again to remove any dust and apply a high-quality automotive primer. This base coat acts as a crucial underlying layer, guaranteeing strong adhesion of the paint and delivering a uniform foundation for the selected hue.
Paint Types and Finishes for Dashboards
Choosing the right type of paint is critical for dashboard painting. Opt for paints specifically formulated for automotive interiors, as they’re designed to bond with plastic and vinyl surfaces and withstand the temperature variations inside a car. When selecting a finish, consider the overall look you desire. Matte finishes reduce glare and offer a modern look, while glossy finishes are more traditional and easier to clean. Satin coatings provide a middle ground, delivering a subtle glow while avoiding excessive reflectiveness.
Painting Techniques and Application
When it’s finally time to apply paint to the dashboard, having the proper supplies and a methodical approach is key.
-
Brushes vs Spray Paint: The choice between brushes and spray paint depends on your comfort level and the desired finish. Brushes allow for more precision but may leave streaks, making them better for touch-ups or small areas. Spray paint, on the other hand, offers a more uniform application but requires a steady hand and good ventilation.
-
Building Up Layers: Layer the paint in multiple fine coats, ensuring each one fully dries before adding another. This method reduces the risk of drips and runs, and it provides a more even, durable finish. Take your time and carefully apply each layer for optimal outcomes.
-
Achieving Consistent Coverage: Consistency is key in dashboard painting. Ensure even coverage by maintaining a constant distance between the spray can and the dashboard, and use steady, sweeping motions. Pay special attention to edges and corners, where paint tends to accumulate or miss.
Common Problems and Troubleshooting
Even with careful preparation and application, issues like drips, bubbles, or uneven coverage can arise. If you encounter drips or runs, wait for the paint to dry completely before gently sanding the area smooth and reapplying paint. For bubbles, usually caused by shaking the spray can too vigorously or applying too thick a coat, sanding and repainting is also the solution. Uneven coverage can often be remedied with additional coats, ensuring each layer is fully dry before the next is applied.
Conclusion
Refreshing your vehicle’s interior is highly rewarding but the painting preparation and procedures require diligence and strict adherence to best practices. Thoroughly addressing any surface defects or contamination issues with sanding, cleaning, and priming sets the foundation for success. Understanding paint types and properties allows properly building up sheer coats for imperfection-free, full coverage. Patience equally matters both in the initial paint application steps and the post-painting curing times before exposing to wear. Renew and refresh your interior with these DIY steps for dashboard color changes and repairs. Your vehicle will take on a whole new life at a fraction of replacement costs.