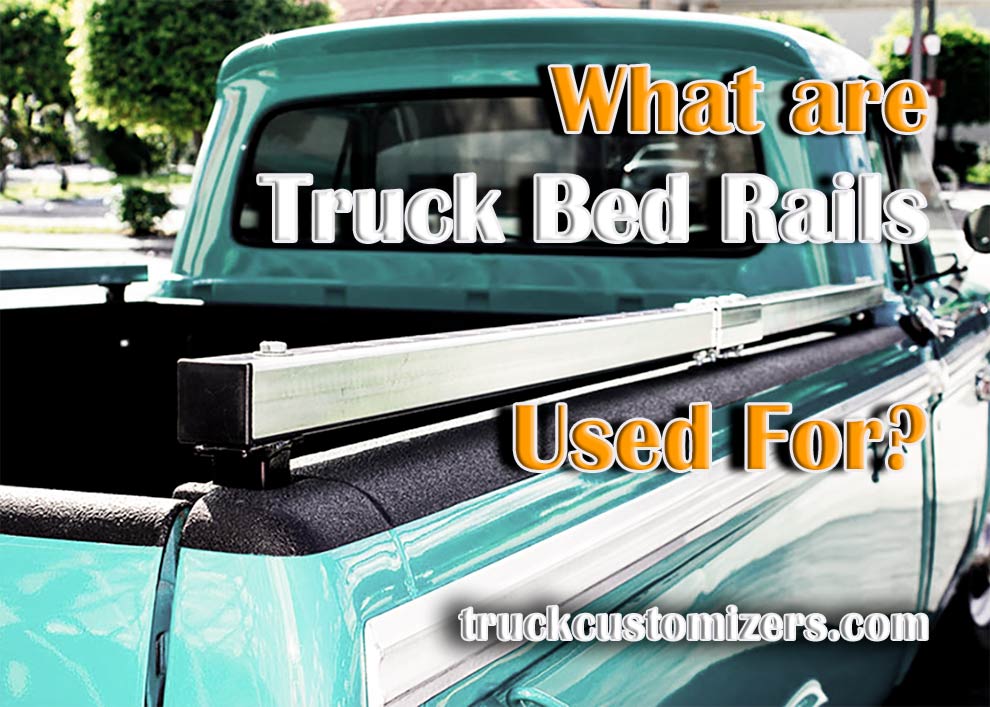
Enhanced appearance and functionality – that’s the best way to describe what bed rails bring to the table. While pickup truck racks are pretty great, sometimes, they have a hard time securing really big and heavy stuff. Well, that won’t be a problem with a set of decent-quality truck bed rails! Say, you’re transporting a bike, or some expensive equipment and are worried it might fall off or damage the bed.
Just tie it down using the rails, and don’t let that bother you anymore! Yes, bed rails are very practical, easy to use, and functional. Plus, they look pretty cool and give the truck an aggressive and sporty look. But how do you install them, though? What kind of instruments will you need? What should you look for in rails? Let’s figure that out together!
What to Look for in Bed Rails?
 While rails are not the most popular aftermarket upgrade for trucks, the demand is still pretty decent. There are dozens of different brands on the market, with all kinds of bed rails at your disposal. So, how do you know you’ve got the right set? Start with the budget: right now, you can get a great set of bed rails for 100-150 US dollars. There are lots of cheaper options, of course, but they’re not really worth it.
The next thing to consider is the length of your vehicle’s bed. There are several different standards when it comes to truck dimensions and you’ll need to make sure the rails you buy match the length of your pickup. When shopping locally, measure your truck in advance and keep the right size in mind. And when ordering online, find the compatibility list. If you see your four-wheeled friend on that list, that means it’s gonna be a perfect fit.
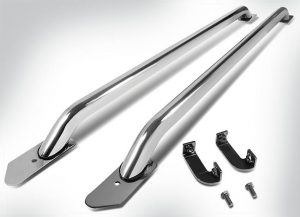
Another thing to choose is the material. Most drivers go with tubular steel. It’s more durable and reliable than ABS plastic, of course (another popular choice). But, with steel, you always need to make sure it’s got a proper finish (coating). Otherwise, rust and corrosion will take over.
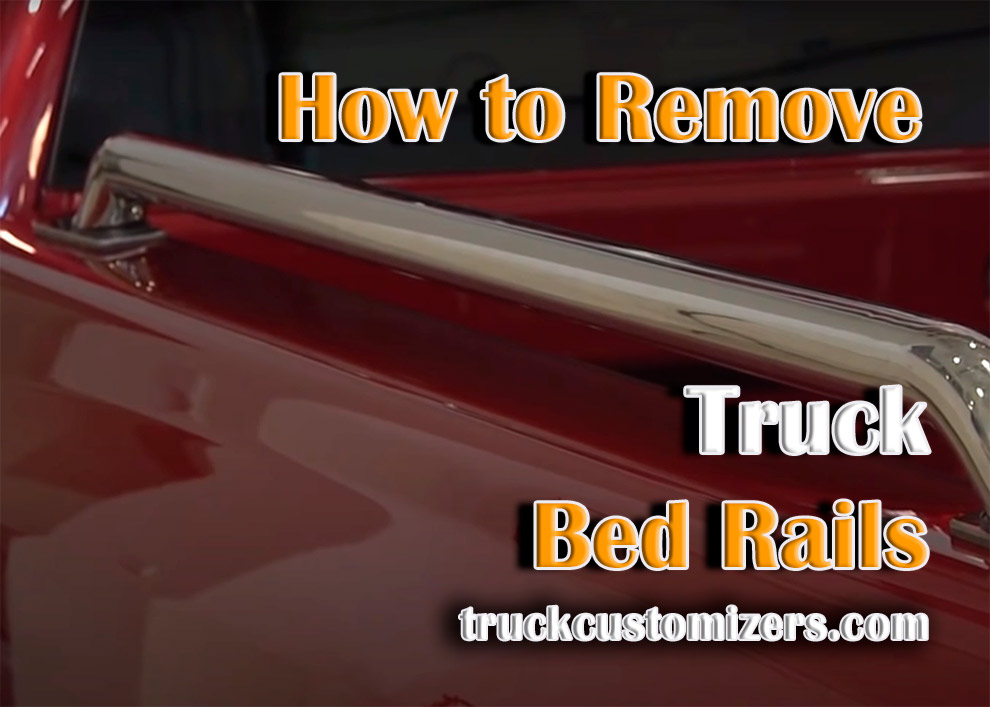
Getting Started
 One of the best things about bed rails – they don’t require much effort, time, or money to install. Plus, aside from the size of your truck’s bed, there’s very little that you need to take into consideration. The installation process is going to be very easy and straightforward no matter which brand you go with. The only difference will be the mounting technique – bolts, or tape.
Therefore, you can stop worrying about how to install Westin bed rails on a truck, what’s the right bolt size for the Dee Zee rails, or anything like that. As for the average weight capacity, you can expect the new rails to easily handle 300-500 pounds. That’s more than enough for most pickup truck owners.
One last thing: some rails come packed with a set of bolts, of adhesive tape; others don’t. So, it might be a good idea to get some bolts and brackets or tape prepared before the installation. Also, don’t forget to grab your favorite wrench and put on a set of gloves.
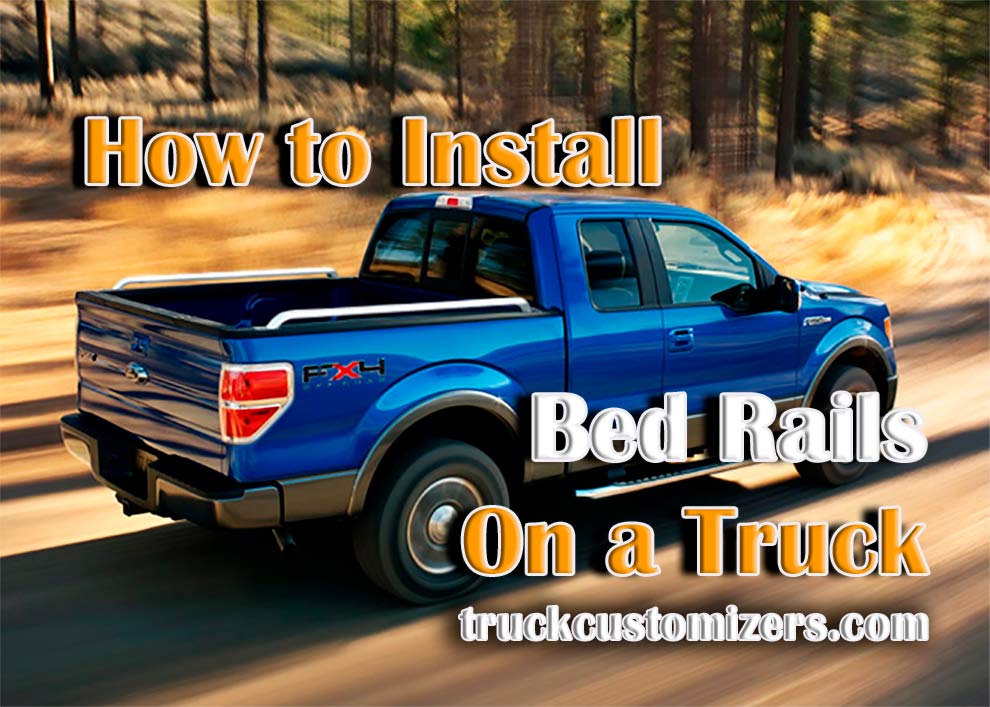
Bed Rail Installation Guide
Alright, now that we’ve cleared all that out, let’s get right to it. Before you start installing the rails, make sure the mounting surfaces are clean. In most cases, some water and a rag will do; some folks use ethanol-based liquids to make sure everything is squeaky-clean. If some dirt gets between the bed and the rails, the mounting won’t be as reliable as you’d hope it would be.
Using Brackets and Bolts
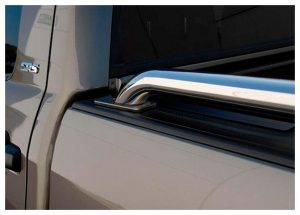
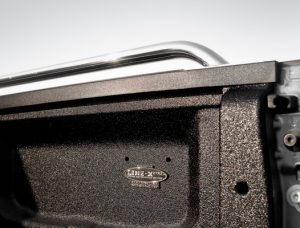 Now, if you’re planning on carrying really heavy stuff in your bed, I strongly recommend choosing a set or rails that attach to the bed using bolts. Pretty much all modern-day trucks have these “stake pocket holes” on each side of the bed. They are specifically designed for mounting tie-downs, or, as in our case, rails. So, what you should do is position the threaded brackets in both holes. Next, attach the bolt, washer, and bracket to each end of the rail.
With that done, carefully put the rail on top of the bed (I always do the left side first, by the way). This is important: while tightening the brackets, make sure you’re pulling up on the other end of the rail. Otherwise, the bracket will keep moving left and right, causing trouble with the tightening. Do the same with the further end, and that’s pretty much it! If your vehicle doesn’t have pocket holes, you’ll have to drill new mounting holes.
Adhesive Tape
The tape is the cheaper option. Plus, it will take even less time to attach the rails. I do, however, want to mention again that no matter how great the tape might be, it still won’t have a grip as strong as the brackets + bolts system. But, for carrying lightweight stuff, it will be just what the doc ordered. The so-called 3M tape is the golden standard for this. First of all, it’s double-sided; secondly, it lasts for a long time.
So, no screws or bolts will be required. Just peel off one side and put it over the rail. Next, peel off the other side and carefully put the rail with the tape attached on the truck’s bed. Give the tape at least 24 hours to bond with the metal.